The kitchen is the heart of the home, so when you want a personality change in your home, start with the kitchen! Our guest today has a stunning black and white kitchen remodel to share:
The bright white cabinets and new countertops make such a dramatic and beautiful difference, reminding me of these other amazing kitchen makeovers:


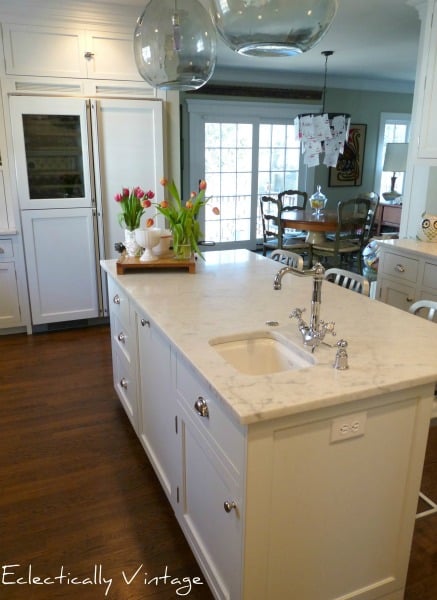

And now, the details of Kate’s beautiful kitchen:
Hi everyone! I’m Kate from Eating in the Shower and I’m so thrilled to be sharing our kitchen remodel with you. I’ve been blogging about our military family life and DIY projects for a little over a year now but finding inspiration from sites like Remodelaholic for much longer so thank you, Cassity for letting me share our remodel story!
So far we’ve made houses into homes in California, Yemen, Switzerland, North Carolina, and New York. We have a two year old son and a Vizsla who is seven but still acts two so our free time is not what it used to be. I love thrifting, creating, and crafting and I try to find ways to fit it all in to avoid the time management fail my blog got its name
from!
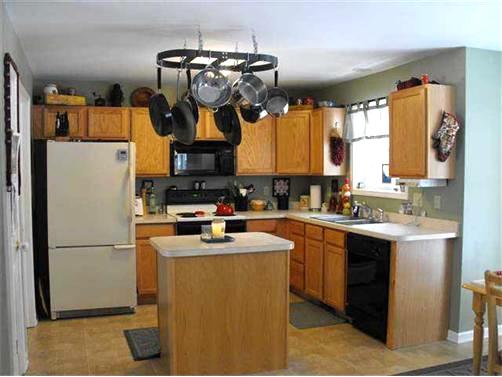
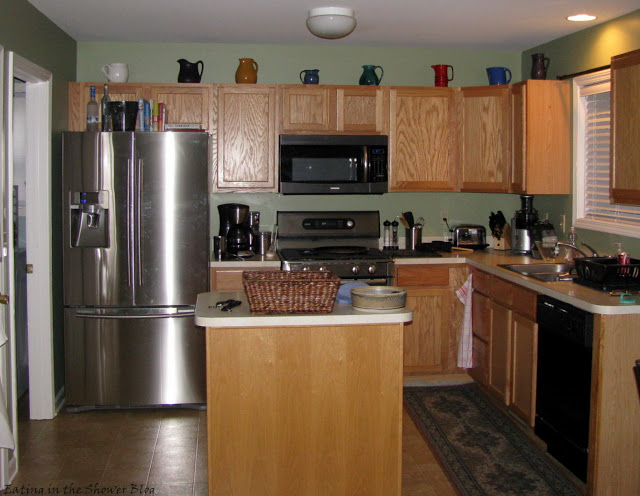
Even though I’ve loved all of the travel, one of the most difficult aspects of military family life is leaving behind the homes that we’ve made our own through DIY projects. It makes it easier to know that with each new house, we get opportunities to change up our style a bit or try a new remodeling project. I’m sure my husband never imagined that he would be painting kitchen or vanity cabinets before we bought this house! Which brings me back to our kitchen. When we bought our house it was one of the things I liked least about it.
 |

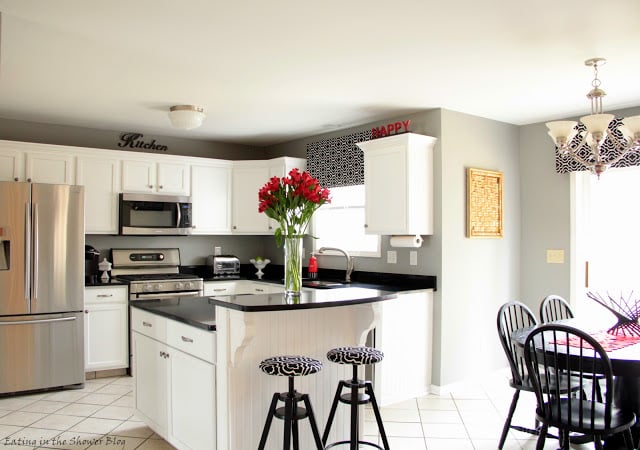
Here is a look at the island from the stove area.

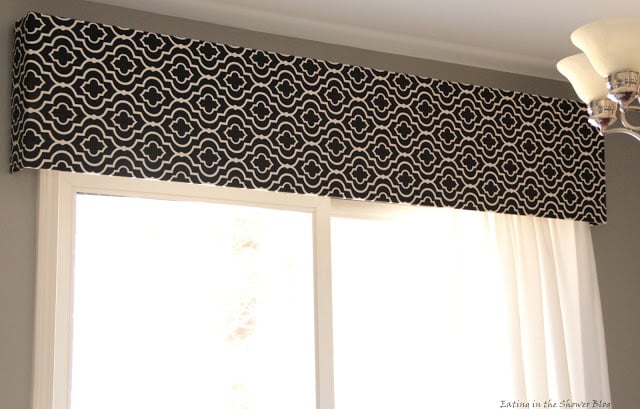
Along with the DIY cabinets we replaced the appliances, light fixtures, faucet, and had new countertops and ceramic tile flooring installed. The countertops are LG Viatera Quartz in Abyss. For the finishing touch we made window boxes covered in black and white patterned fabric and covered the barstools with the same fabric.
It was important to me that the grain and rough texture on the cabinet faces be covered. I didn’t want to still be able to see the wood grain after going through the work it takes to refinish cabinets. To prevent it, we tried this brushing putty.
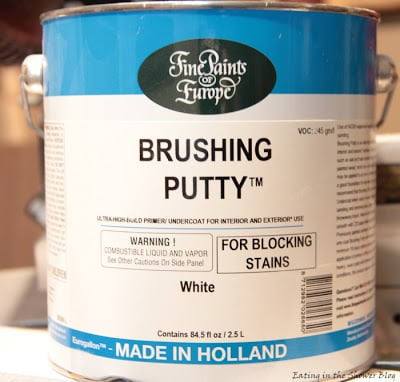
It filled in the grain and provided a smoother finish than I expected. Here is an in progress photo of one of the sanded cabinet doors after the putty was applied and then partially sanded away. This step was worth it to us for the result we achieved but adds extra time and work to the project so it may not be for someone trying to get done quickly.

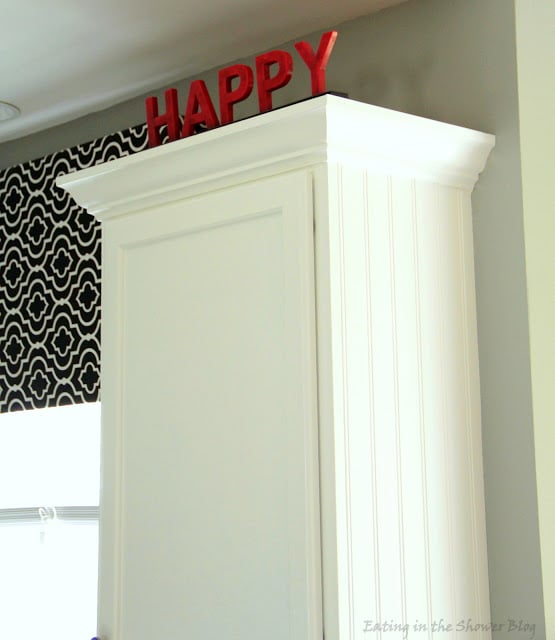
Here is a closer look at a finished cabinet
This is a rundown of the cabinet refinishing and how our kitchen went from “Oh-Noing” to Glowing:
- We removed all cabinet doors and drawer fronts and lined them up in the garage on sawhorses to clean them with a degreaser (TSP) to remove the built up kitchen grime.
- Next we sanded the existing finish from the surfaces by a combination of hand sanding with 220 grit sponge sanders and power sanding with a sheet palm grip sander. We sanded until all finish was removed and bare wood exposed. (On the cabinet boxes in the kitchen we opted to use deglosser to prepare for painting rather than sand them down and create a bigger mess in the house than necessary.) They don’t show as much and did not have the same deep grain as the doors so this was a better choice.
- Once the cabinets were sanded, we added the crown molding to the top with the doors still removed. We used two 8 foot lengths of stain grade pine molding, a compound miter saw to make the angled cuts, and a pneumatic brad nailer to attach it to the top edge of the cabinet boxes.
- To fill the remaining grain on the doors and drawer fronts we followed with the brushing putty. After applying the putty and letting it dry, we sanded off the excess in the same way we sanded the original finish off, leaving the grain filled and the surface smooth.
- After the prep work was finished, we applied this oil based primer to the doors, drawer fronts, and the cabinet boxes and allowed it to dry before flipping the doors and fronts and doing the same to the undersides. We applied the primer with a fine nap roller and a high quality paint brush to minimize brush strokes.
- Using a jigsaw, we cut beadboard style hardboard panels to fit the ends and exposed sides of the base and wall cabinets and attached it with construction adhesive.
- The final step was to paint the cabinets with Benjamin Moore Satin Impervo in White Dove. The paint was applied by hand with the same materials used to apply the primer. The paint had great leveling properties and this helped prevent brushstrokes and, along with our other techniques, produced a very smooth finish. It was a high quality product to work with and had a lot to do with the look we achieved.


Our goal was to keep the remodel costs under $20K. Because we wanted new appliances, floors and counters we were expecting it to be right around there. Even with the paint and all of the painting materials we ended up spending about $17K. The entire project was completed over a two month period, including lead time for cabinets and counters, because it had so many different components.
A rough breakdown of costs:
Counters $4800
Custom Island Cabinets $2000
Floor installation $4000
Appliances $5500
Wall color: Benjamin Moore Platinum Gray
Cabinet Color: Benjamin Moore White Dove
Countertop LG Viatera Quartz in Abyss
Island Cabinets: Kraftmaid in Dove White
Happy sign, kitchen sign, and giant fork: Hobby Lobby
Mirror and red soap dispenser: Homegoods

Thanks for reading and I hope you’ll stop by Eating in the Shower to check out our other projects and follow along with us as we get ready for our next move!
Kate
Thanks, Kate! Good luck with your move — can’t wait to see you work your magic on your next home!
Original article and pictures take www.remodelaholic.com site
Комментариев нет:
Отправить комментарий