Hey guys!! I am so excited about this project that I’m sharing today!!!

I was inspired by the floating shelves that Whit built in her bathroom! If you missed them you can see them HERE I basically followed the same installation instructions and only made a few modifications to the size!
Check out our How to Build a Floating Shelf Video HERE!
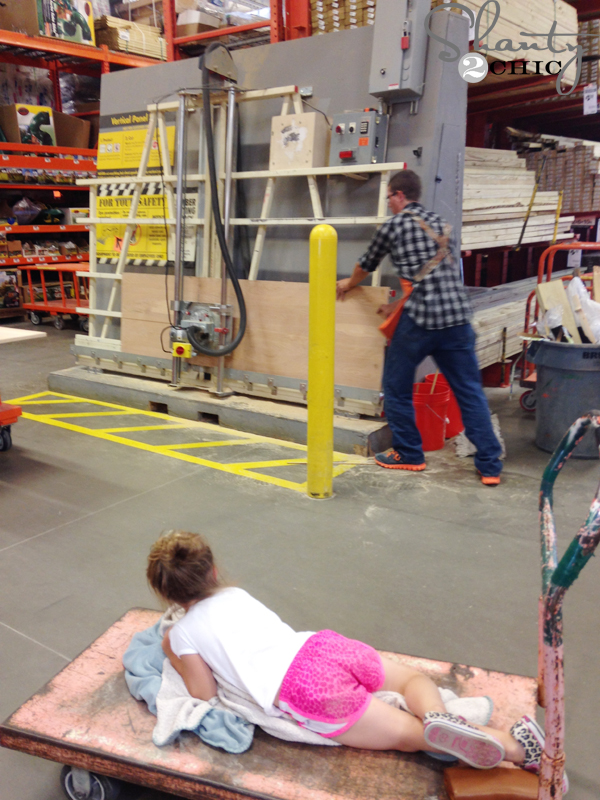
I had the nice man at Home Depot rip 1 sheet of 3/4″ Purebond Plywood (in Birch) into 4 – 11 1/4″ boards and 1 sheet of 1/4″ Purebond Plywood the same. So you will basically have 4 – 8ft. 3/4″ boards and 4 – 1/4″ boards the same length. (My daughter’s home away from home )
I also purchased 6 – 2x4x8 and 6 – 1x6x8.


I built the “E’s” the same way Whitney did by drilling pocket holes into the short 2×4 pieces. You can find the Kreg Jig HERE on Amazon.
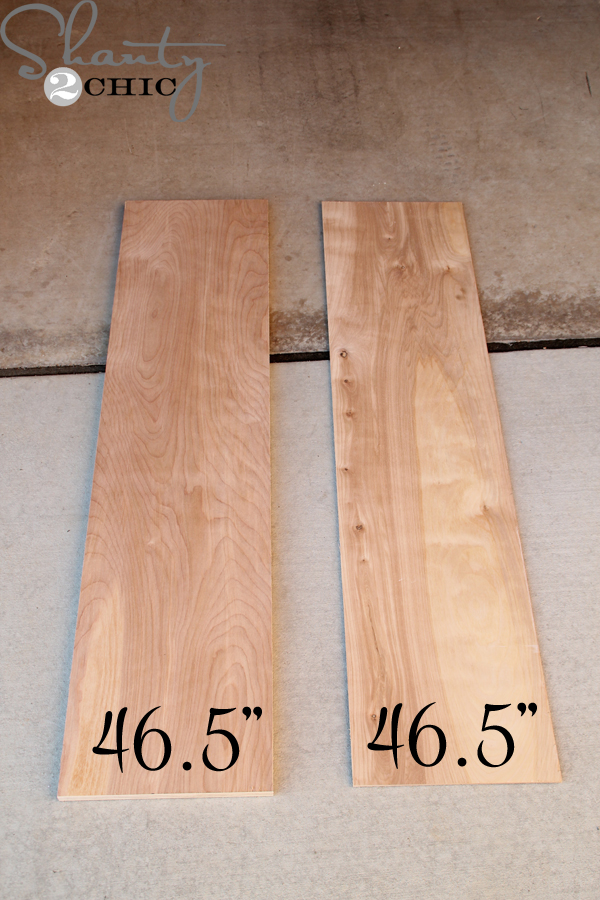
I also cut 16 – 1×6 pieces @11 1/4″ and 8 – 1×6 pieces @48″ but I missed getting pictures of that! (these will be the sides and fronts of the shelves)
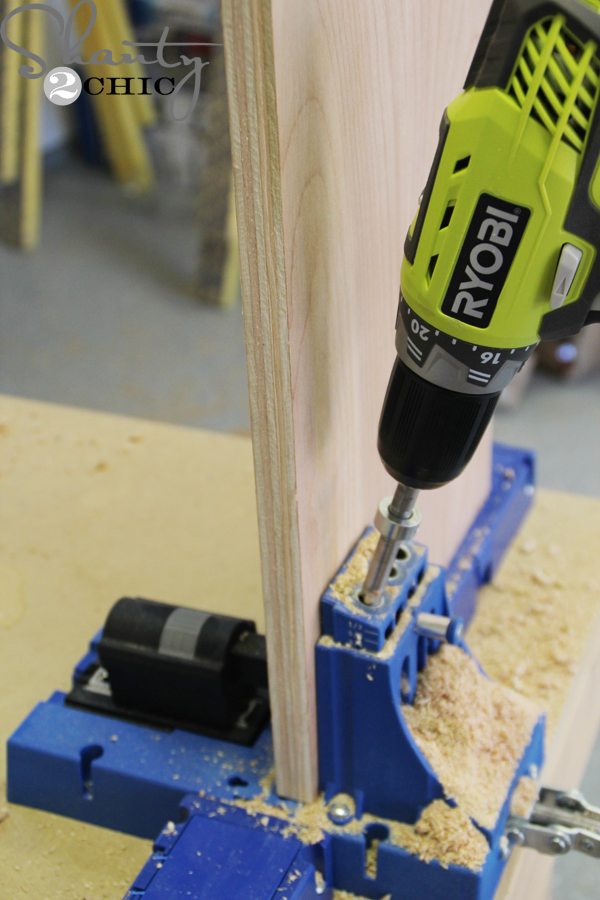
I used my Kreg Jig to drill pocket holes into each end of the 3/4″ boards and attached them to the 1×6 pieces to form the top and sides of the shelves. (again missed pics of that – I blame summer
Time to install!
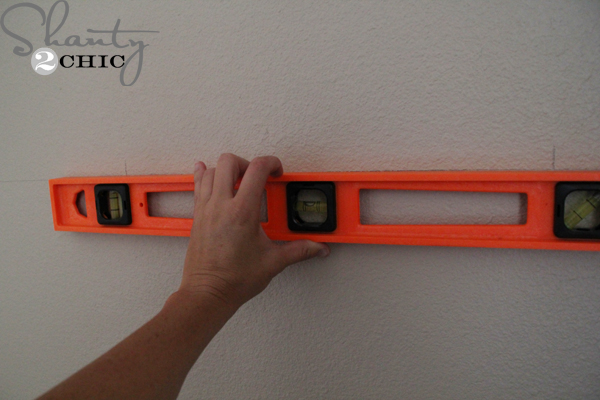
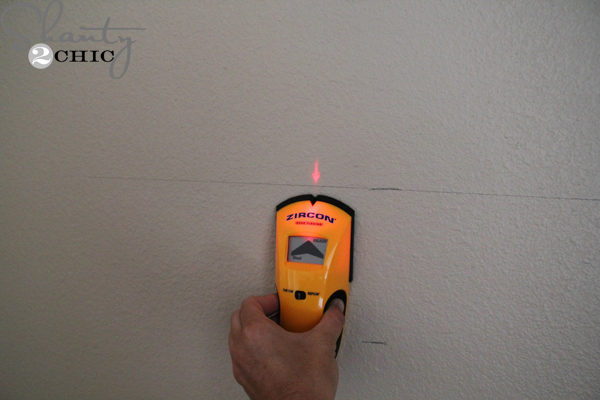
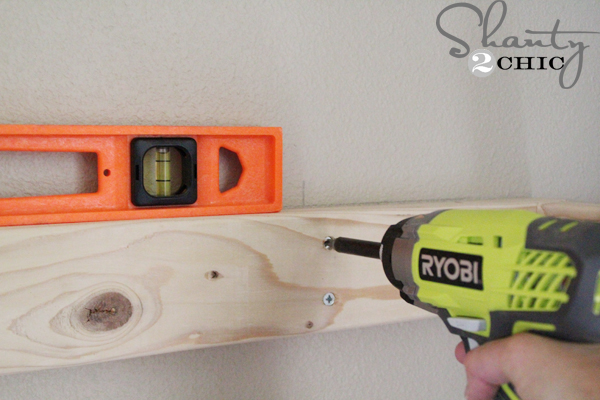
To attach the “E’s” to the wall, I used 3 1/2″ spax screws and drilled them into the “E” and then into a stud with my Ryobi Impact Driver. I did 2 screws per stud.
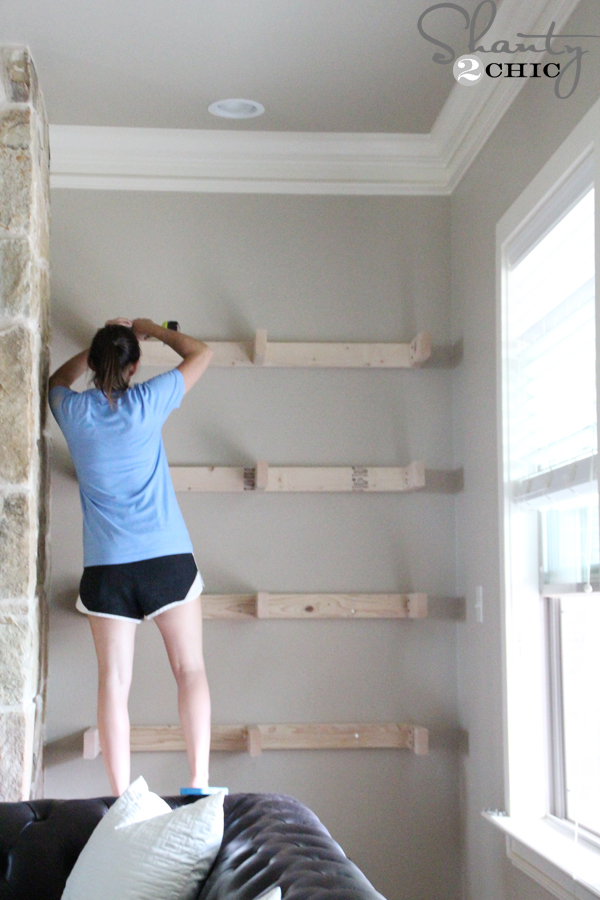
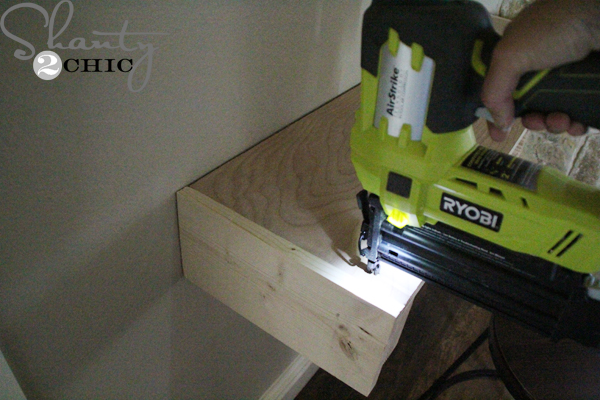
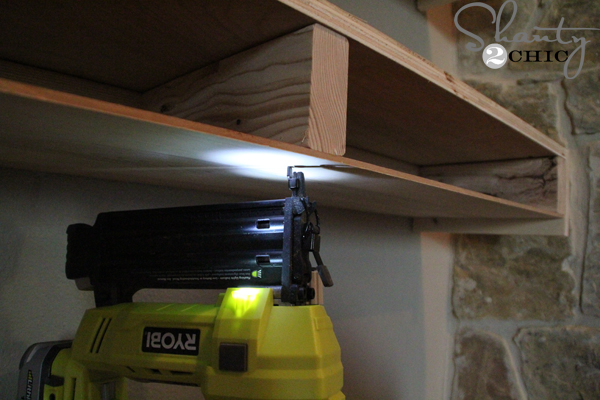
Once the “E’s” were installed, I dropped the assembled shelves on top of each one and attached them with my Ryobi Airstrike Nailer and 2″ nails.
I attached the 48″ 1×6 pieces to the front with my nailer as well (and surprisingly didn’t get pics of that part either)!

I wiped on 1-coat of Carrington stain, let it sit for 5-minutes and then wiped it with a clean cloth and that was it! You can find Rust-oleum stain HERE on Amazon.
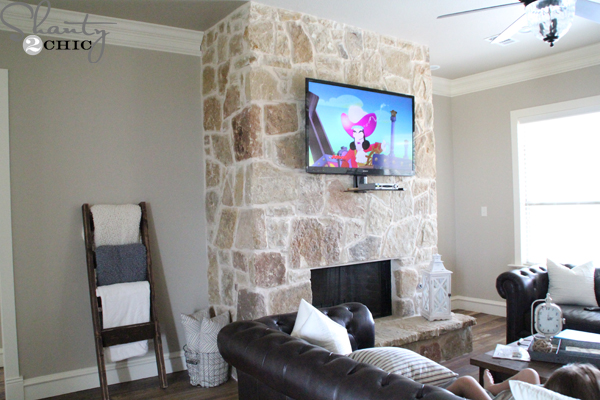
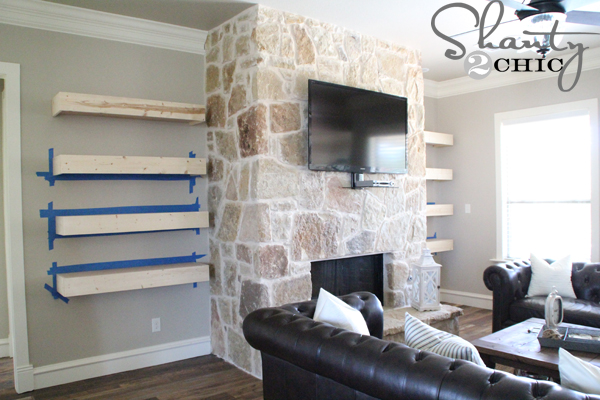
Here is my before…. I’ve been starring at this space since we moved into our new home 4 months ago and finally decided how to fill the space
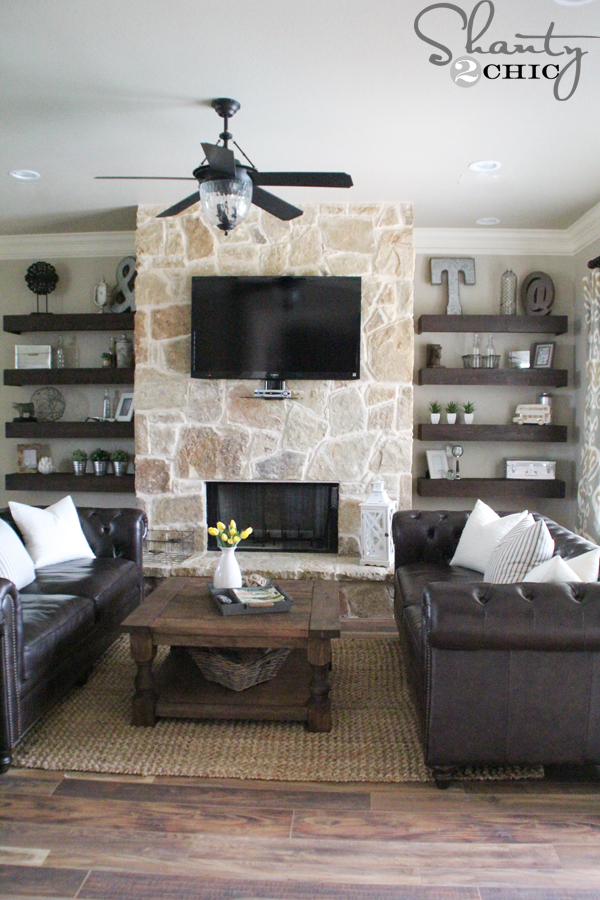
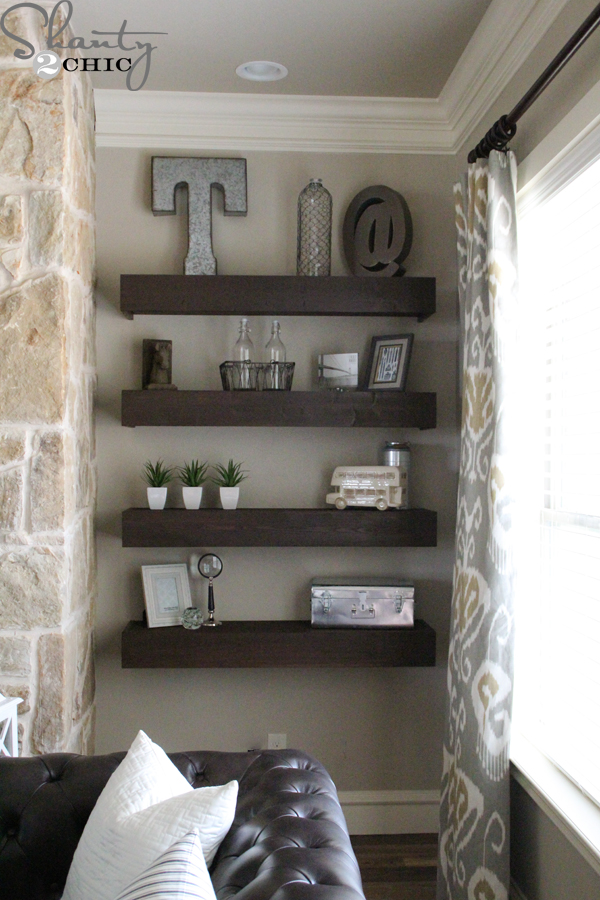
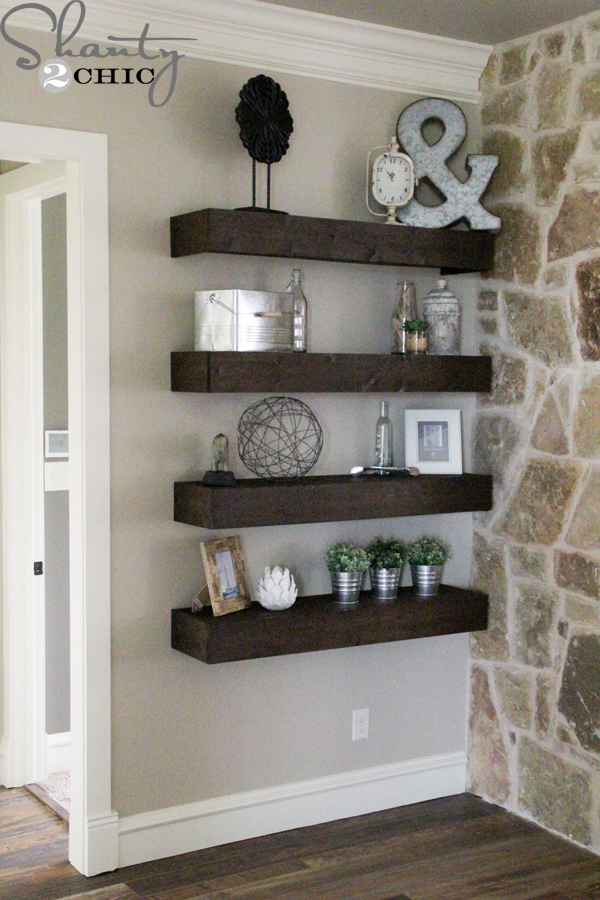
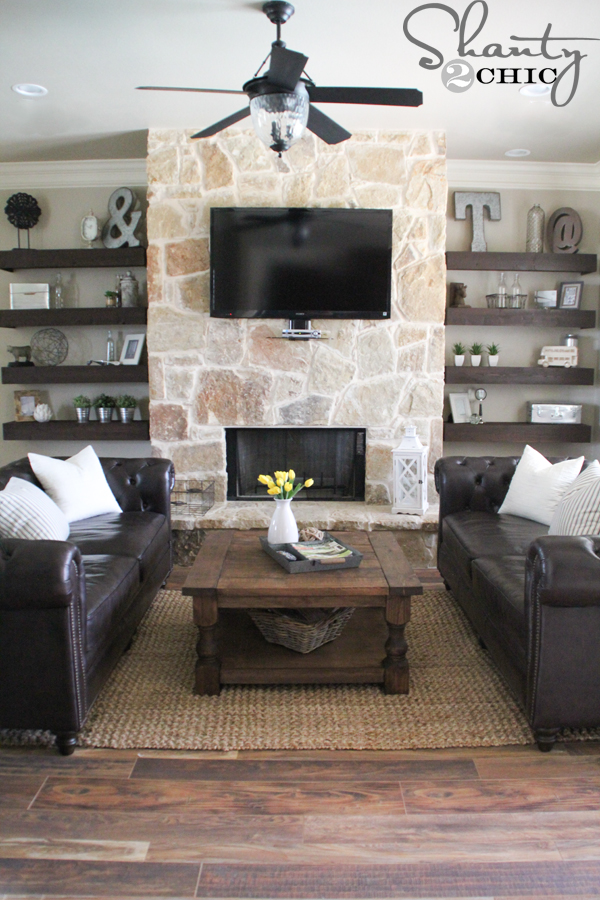
I bought the majority of the accessories from Homegoods and Marshall’s, and a few pieces from Hobby Lobby! Seriously LOVE my new space and $120 for 8 – 4ft. shelves is a lot of bang for my buck
Thanks so much for stopping by!
~Ashley
Info on other things in this room
I did build the coffee table and you can find it HERE!
You can find out about the fan HERE
and the info on the flooring is HERE
You can find the rug HERE
Original article and pictures take www.shanty-2-chic.com site
Комментариев нет:
Отправить комментарий