I am here today to share with you my Farmhouse Cottage Kitchen Reveal. I have been working all summer on this space in my house, and I am so happy to call it finished! When we moved into this house I knew that this kitchen would be the very first major project I wanted to tackle. I can’t even believe the difference! These are all the same cabinets. I transformed the flat panel doors into shaker style doors, which is what took me the longest. It’s really not difficult, but it was definitely time consuming. So are you ready to see the transformation?? You can find a list of all my sources at the bottom of the post.
Farmhouse Cottage Kitchen Tour
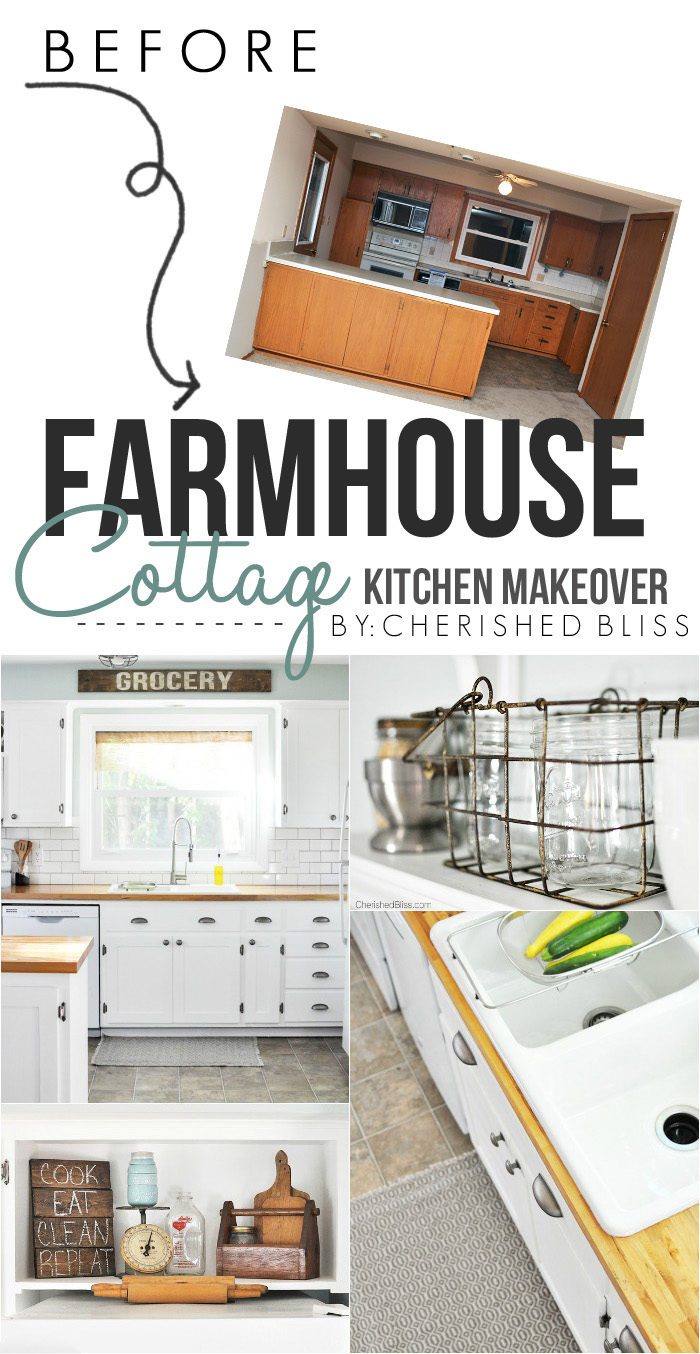
It’s so hard to say what my favorite part of this kitchen is, but those butcher block counters are up there! They were the first thing I knew I wanted when I was brainstorming my design. I ended up getting them from Lumber Liquidators and I couldn’t be happier with them!
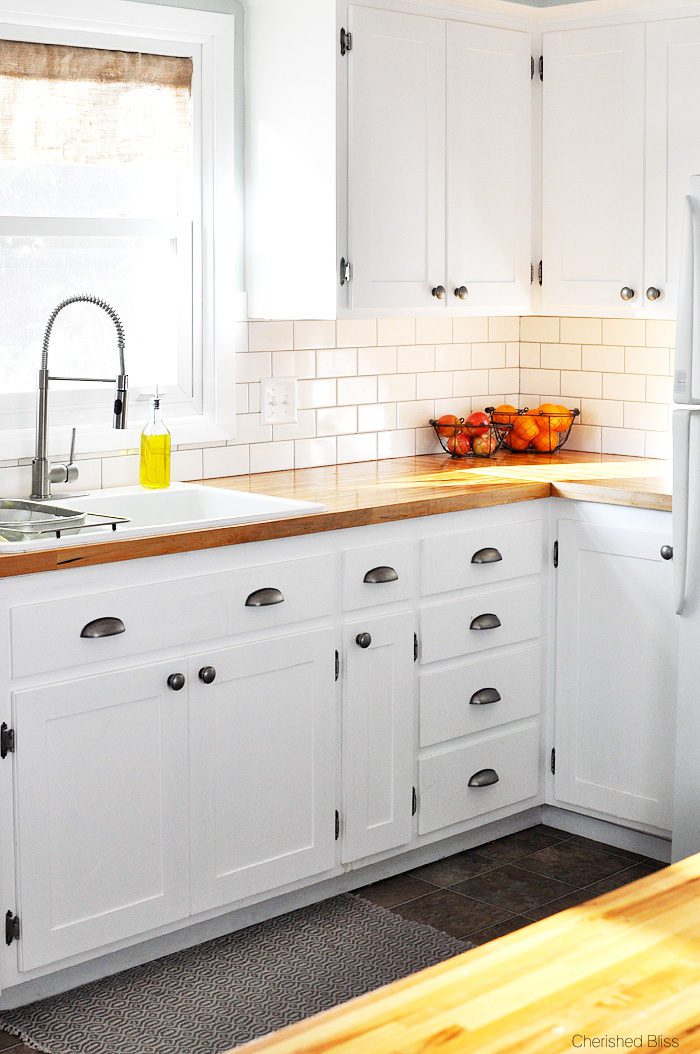
White cabinets were always a must for me, especially in this kitchen. It is a pretty small space, and the soffit above the cabinets just makes it feel much more closed off. I wanted to rip that out so badly, but it just wasn’t in the budget, so I tried to embrace it! And now I don’t really mind it so much, mabye it’s my super awesome grocery sign ; ) The Kitchen light is from Amazon (affiliate link)

I almost ended up not going with the subway tile because my husband wasn’t crazy about it. I am SO glad I fought him on that cause not only does he love it, but I’m fairly certain sometimes I just catch myself gazing at it!
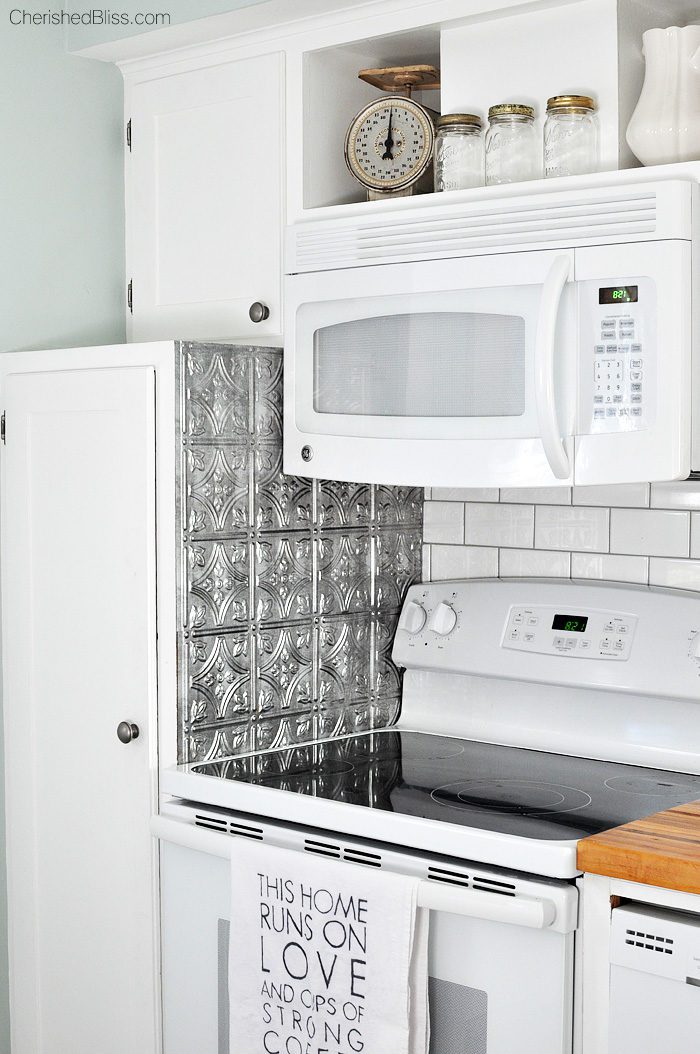
My biggest obstacle was that awkward cabinet next to my stove that throws off the symmetry. I wanted to rip that out too, but it would have ended up with me just wanting all new cabinets, again… out of the budget, so again I embraced it. The main problem is that it is literally right next to the stove so there is a splatter issue. Nobody wants white paint where your sauces splash on to, so I had to cover it with something. I was walking through the hardware store one day and saw these tiles. They are actually meant to be a back splash, but they just so happened to fit on my cabinet.
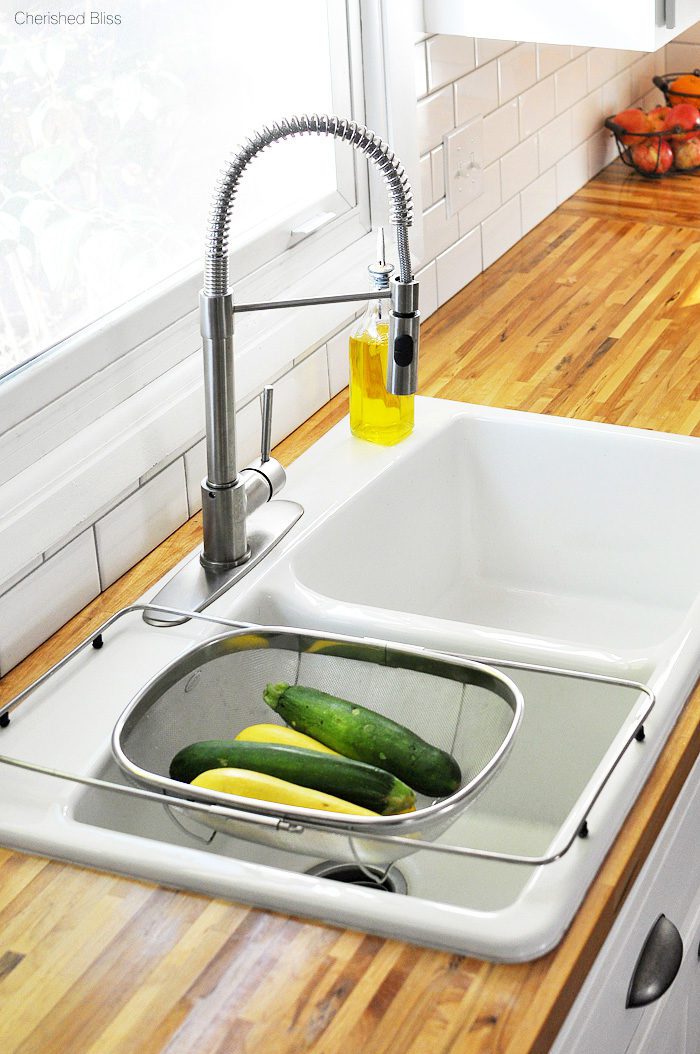
This sink was also one of my favorite parts of the room! I wanted a white sink cause well…. I like everything white. When I brought this home my kids said “mom…. did you paint the kitchen sink white”. Not only does my husband make fun of me for my love of all things white, but now my kids have joined him. Love you too guys! ; )
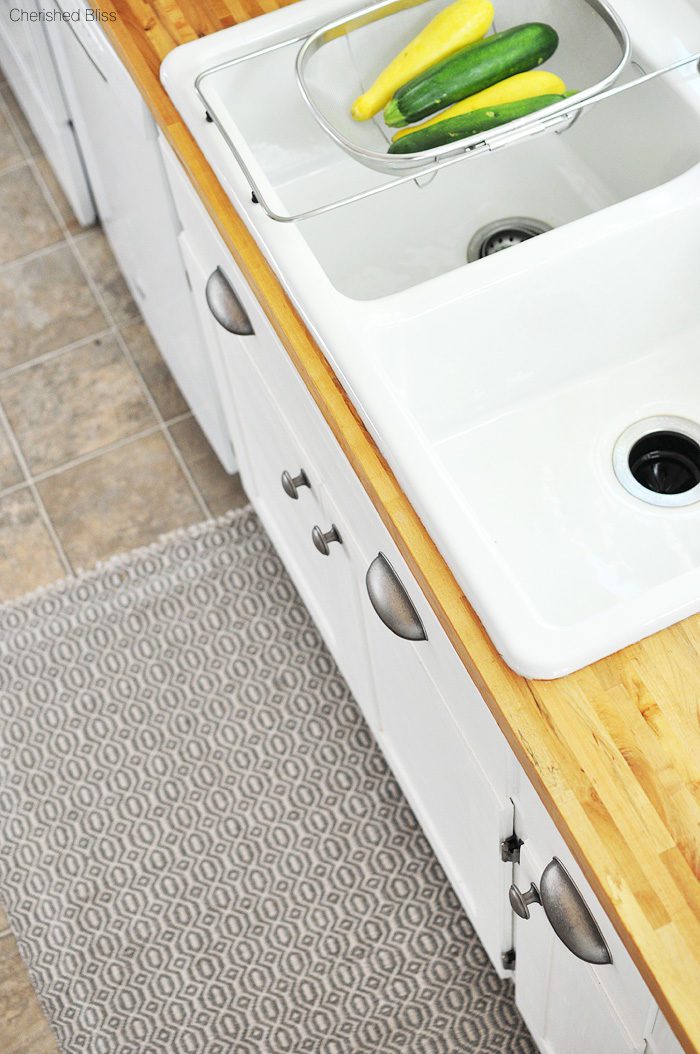
They love white too, they are just scared to admit it! .
I have always wanted open shelving in my kitchen, but let’s be real here… I don’t have strictly pretty dishes. Nor is my kitchen ever clean enough to have everything on the shelves at once. So I decided I would add these pretty little guys above my island counter. I will have a tutorial for those soon! : )
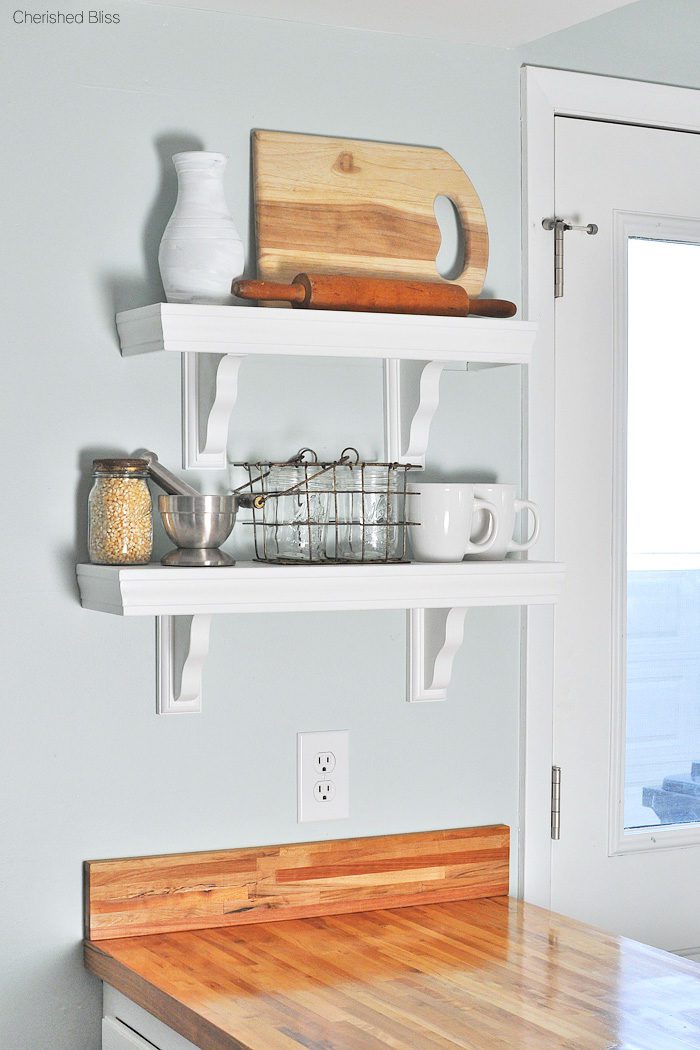
I left the doors off the cabinet above my fridge for a few reasons. One, I never store anything up there cause I can’t reach it. Two, It let’s me add some season decor. Three… the hinges wouldn’t fit. Maybe that should have been one, lol. But I love my little space!

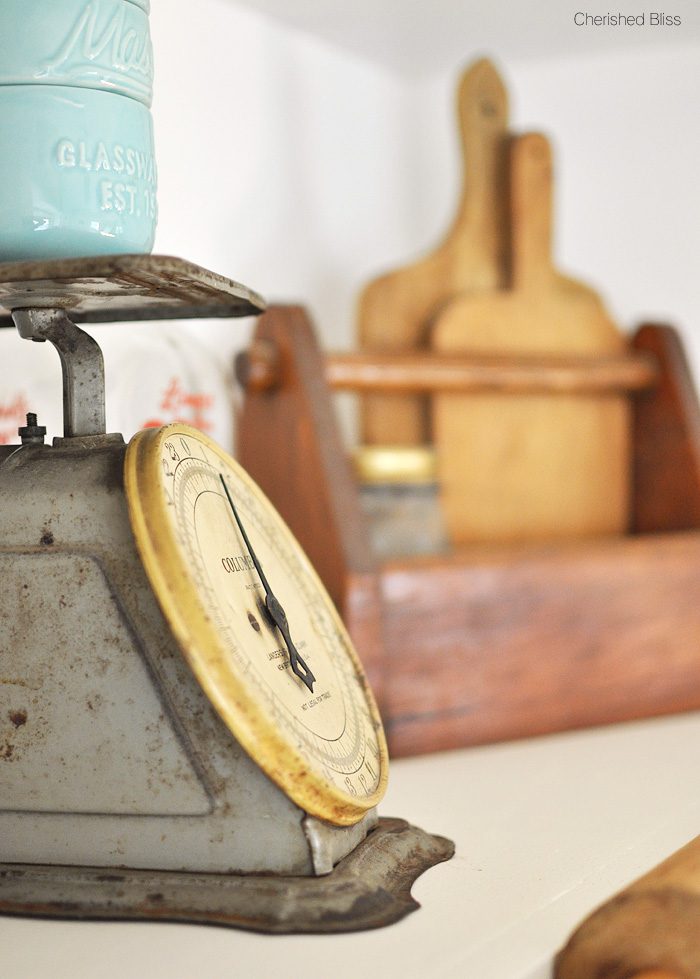
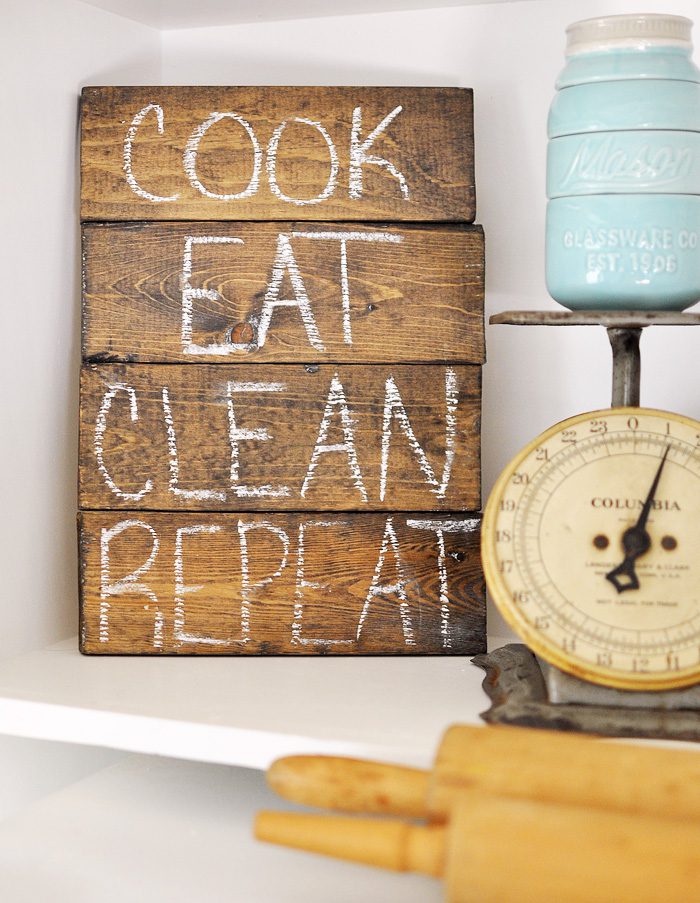
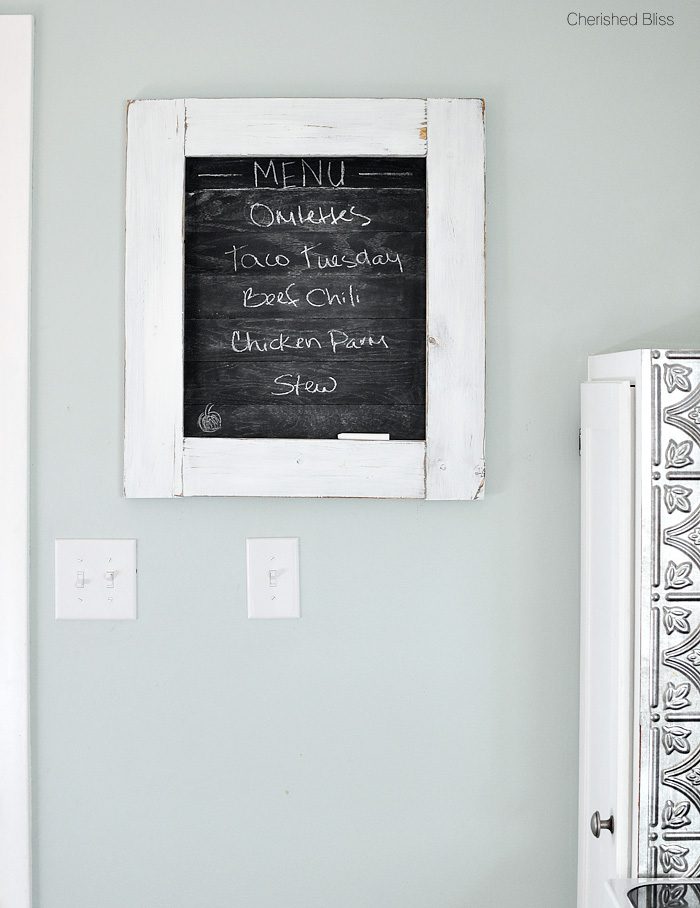
And of course every kitchen needs a chalkboard right? Now if I could just master the art of writing on a chalkboard!
So there it is! My Farmhouse Cottage Kitchen! I am in love with it. It is officially my favorite room in the house! And just to remind you….

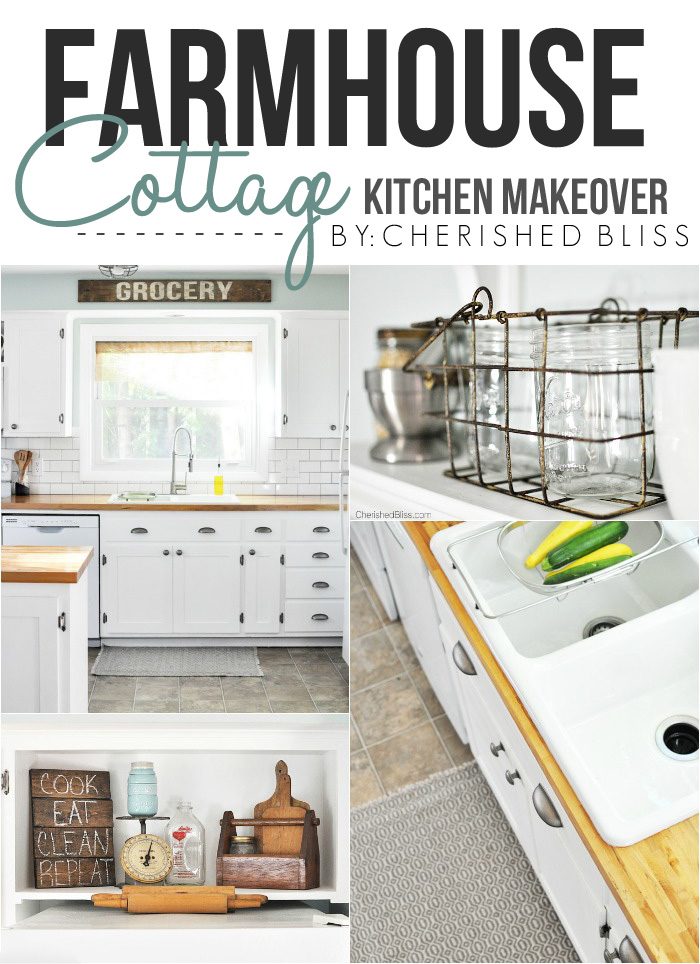
Sources: (may contain some affiliate links)
Cabinet Paint Color – Behr’s Decorator’s White | Painting Tutorial here
Shaker Style Transformation | Tutorial here
Wall Color – Benjamin Moore’s Palladian Blue
Countertops – Lumber Liquidators | tutorial here
Hardware – D Lawless | tutorial here
Backsplash – Basic white Subway Tiles
Sink – Kohler Cast Iron
Rug – Ballard Designs
Shelves – Tutorial here
Chalkboard Menu – tutorial here
Wooden Chalkboard Kitchen Sign – tutorial here
Grocery Sign – tutorial coming soon
Kitchen Light – Amazon
If you have any questions, leave them in the comments below for me! : )
Original article and pictures take cherishedbliss.com site
Комментариев нет:
Отправить комментарий