Yesterday I gave you a tour of our updated kitchen but today I’m giving you a little peek behind the scenes of our white subway tile backsplash. We actually decided to DIY, our first ever tile project. Scary? Yes. Totally worth it? Bigger yes. The best part? Our friend gave us a good lesson on how to install a kitchen backsplash.
One of the reasons I’m happy we took on this project ourselves (with a bunch of help from our friend Nick) was the cost. We don’t have a small kitchen but the entire backsplash cost us about $250, and that includes enough leftovers for our butler’s pantry. That’s a lot of surface area to install a kitchen backsplash on.
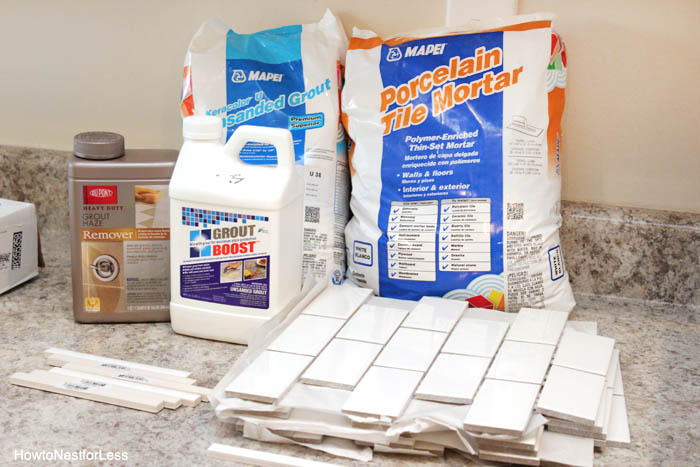
Our supply list:
- Lots of white subway tiles from Lowe’s ($163.80 for all tile including butler’s pantry)
- Porcelain tile mortar ($13.98 per back, needed 1 bag)
- Grout haze remover (optional, we ended up not using it)
- Wet saw (we had one but you can get this one for only $85!)
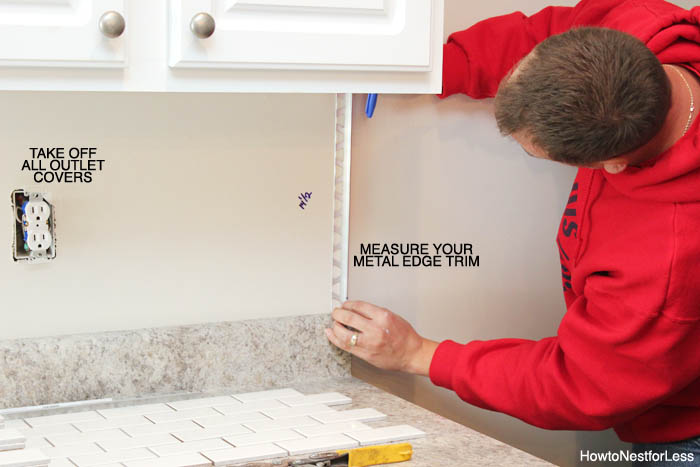
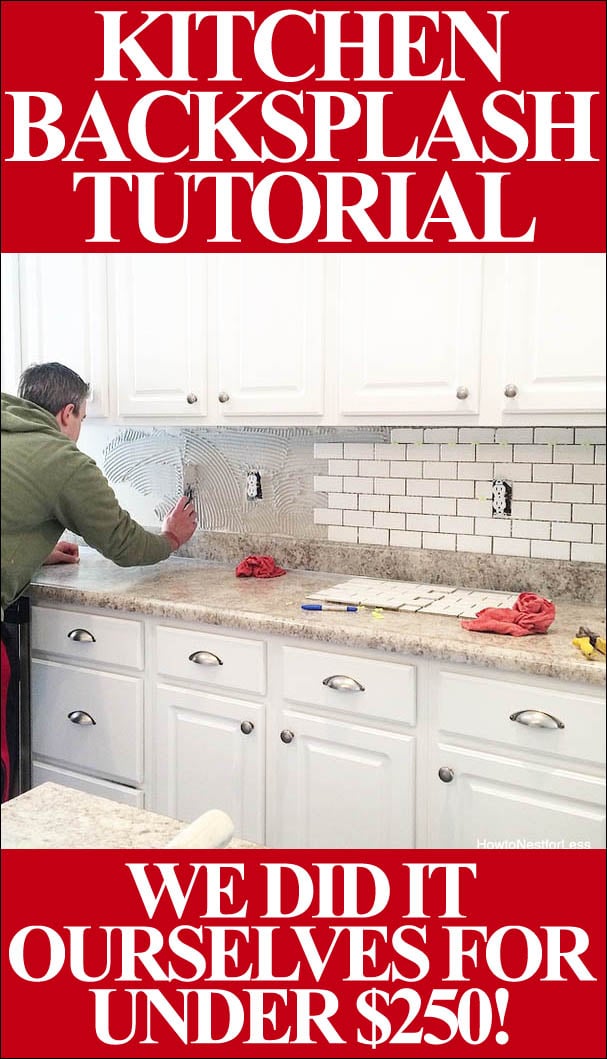
To start take off all electric outlet covers. Then you’ll want to measure the space in between your countertops and the bottom of the cabinets. We measured all of the spaces on the wall and marked it with permanent marker (it will be covered up by tile in the end). Then you’ll need to trim your metal edging with a pair of strong scissors to fit the height.
Note: we decided to use metal edging instead of a tile edging for a few reasons. As novices, it gave us a nice clean finished edge to work with. Also even though it’s barely noticeable in the end, the slight bit of metal goes nicely with our stainless steel appliances.
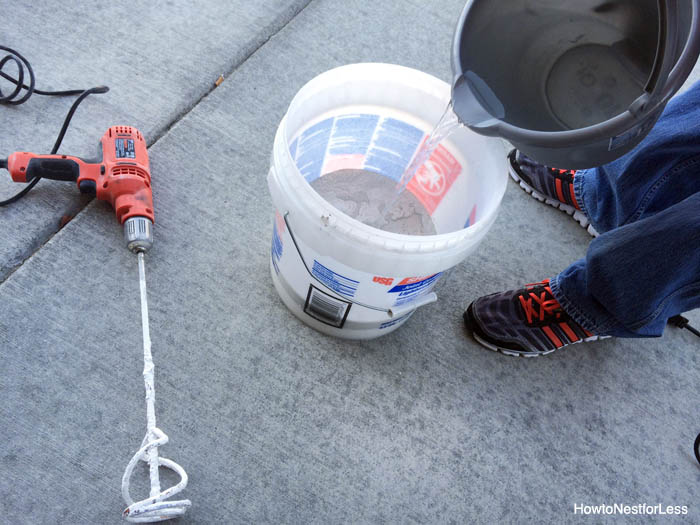
Next it was time to get the mortar ready. We just followed the instructions on the bag for measurements. We used a large mixer and bucket to mix. Just make sure you don’t make too much mortar at a time. It will start to dry as soon as it’s mixed!
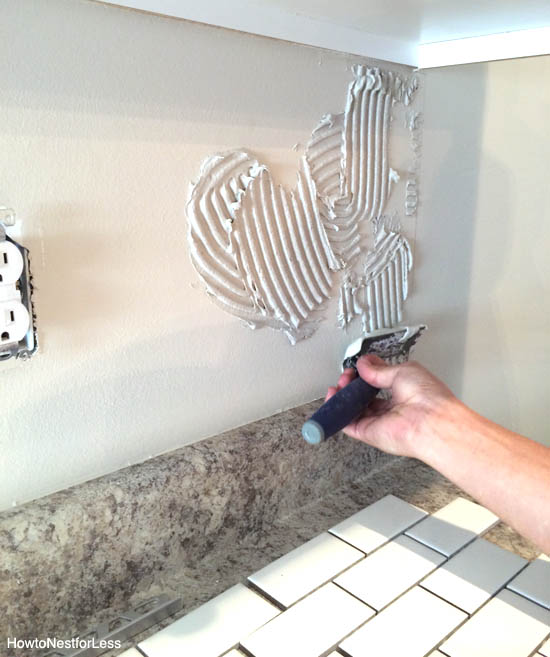
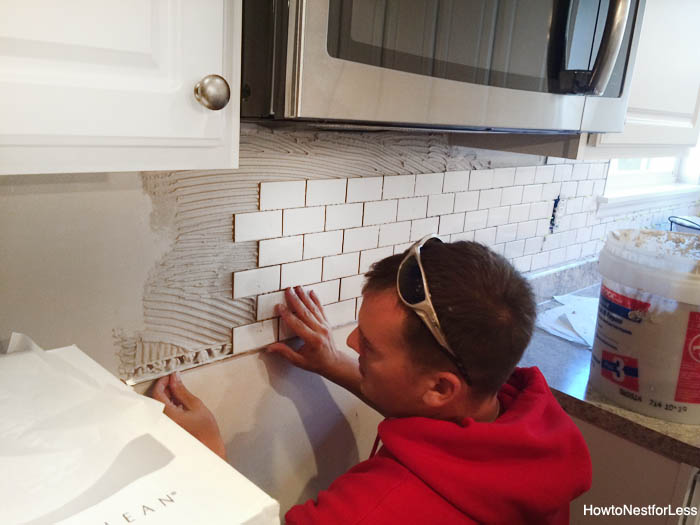
We used a trowel at a 45 degree angle to spread the mortar on the wall.
Once you get a small section with mortar, go ahead and place your metal trim and press into place. Then you can start laying your first set of tile flush with the top of your countertop and flush right with the metal trim.
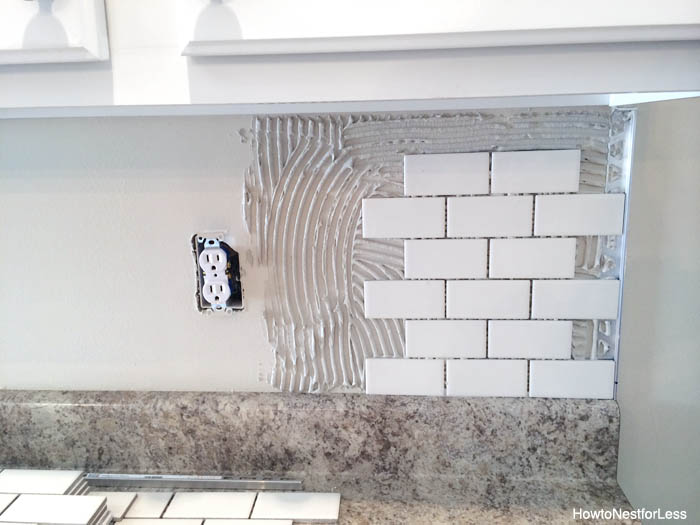
Then it was time to cut the pieces to fill in the gaps. We held up a single piece of white subway tile in place and marked the cut mark with a marker.
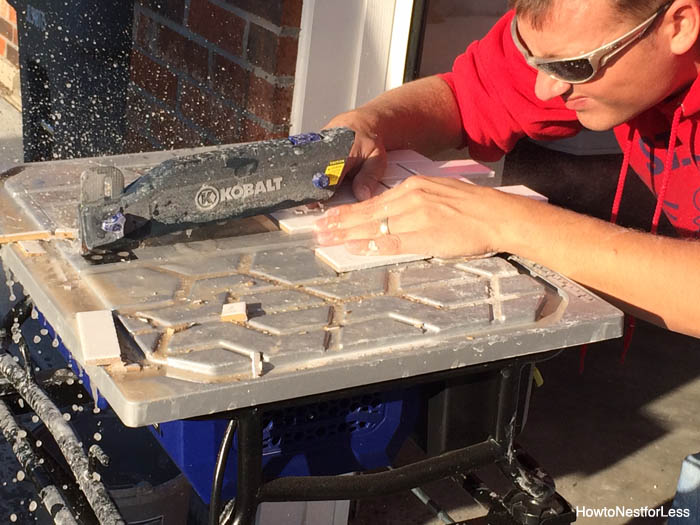
Now it was time to start cutting. We had the wet saw set up outside for this. I have never used a wet saw before but it seemed to go quite easily if you’ve used a normal table saw before (just wetter, right?). My biggest piece of advice is take it slow. Also you’ll need some extra tiles, trust me. Some will chip or your cuts will just be off. Not a big deal, just plan for it.
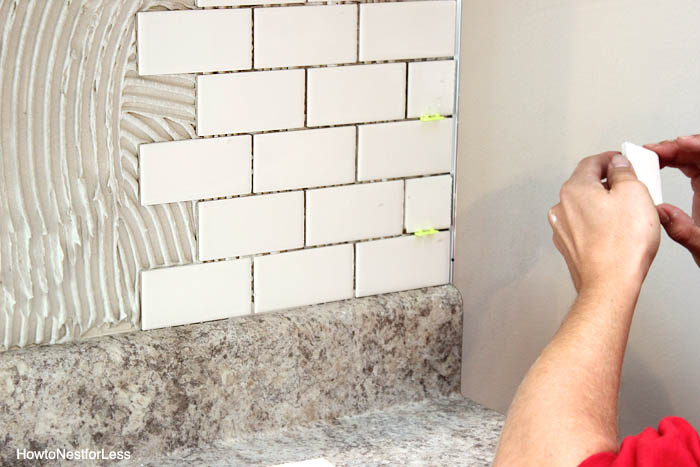
We placed the filler pieces in the gaps and held in place with spacers. These will be your best friends. Trust me. Buy lots of them.
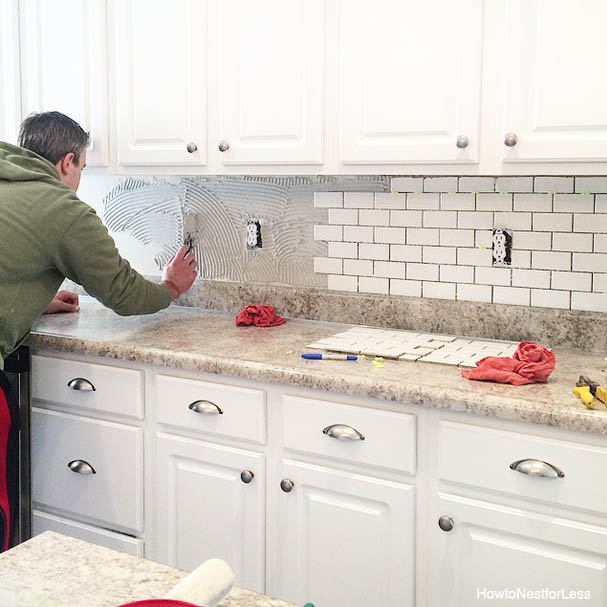
Once we got the hang of these steps we really started to move and groove. The biggest pain in the tush was working around outlets and the corner windows. We also had to cut every single tile for the top row directly under the cabinets since a full piece of tile didn’t quite fit.
Behind the stove we also used the metal trim. This kept the tile from slipping down once it was set in place. In our last house we used a piece of wood for this instead. Either one works perfectly.
Once all of the tile was in place we had to wait 24 hours for the mortar to set before we could grout.
Now as mentioned we used Grout Boost instead of water to mix the grout. The reason we decided to spend the extra $40? With Grout Boost you don’t have to seal your backsplash every year. Totally worth it in my book. I’m not the type of girl that remembers to seal my grout every year.
Once you’ve mixed the unsanded grout with Grout Boost or water, let the mixture stand for 5-10 minutes, then re-mix it. Also remember to periodically re-mix the grout to keep it from drying out.
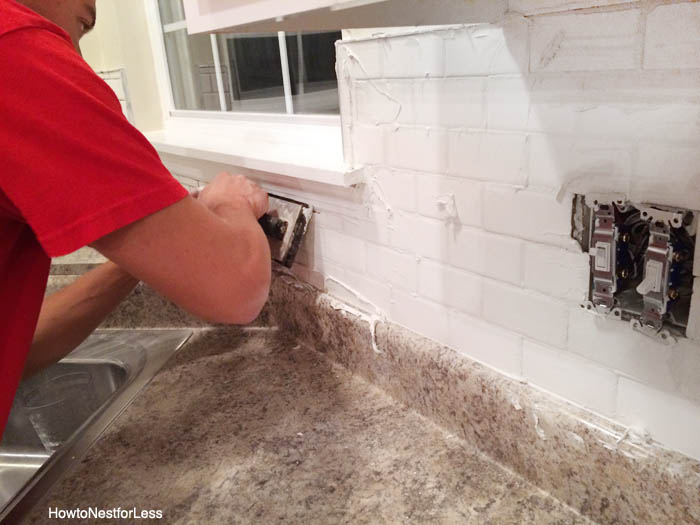
Apply the grout mixture with a grout float at a 45 degree angle. Work diagonally. Wipe off any excess grout. This part will not look pretty. Have no fear. It will get there.
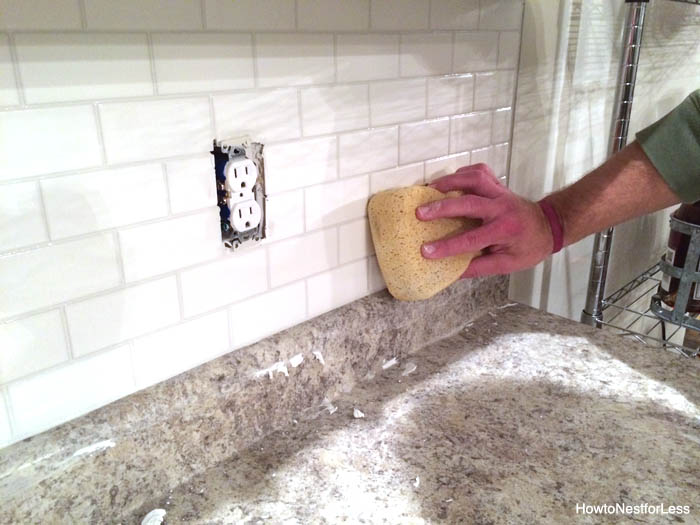
Then you’ll want to wipe away the excess grout with a damp sponge. Periodically clean out your sponge. Repeat this process several times, but start to limit the amount of water you use in the sponge. Let it dry for a couple hours then wipe away again with a slightly damp sponge to remove any haze. Trust me, buy these sponges before you try to install a kitchen backsplash!
We waited about 24 hours before we caulked. You’ll want to hit where your new backsplash meets your countertops and where it meets the bottom of the cabinets. I have a little trick on this to get super smooth lines, but I’ll wait until tomorrow to share. For now, let’s just take a look at the finished backsplash…
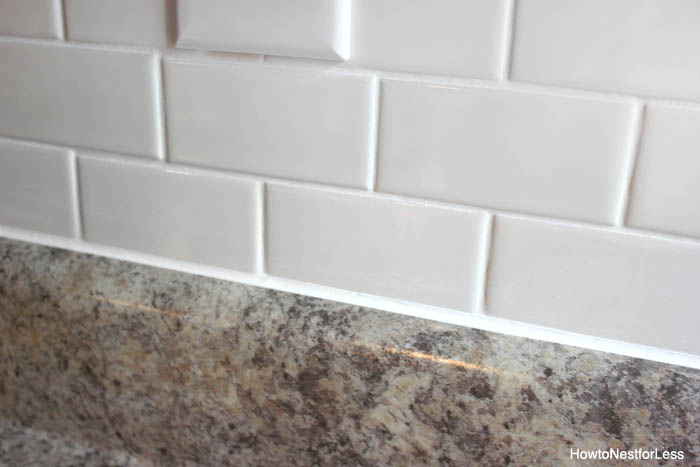
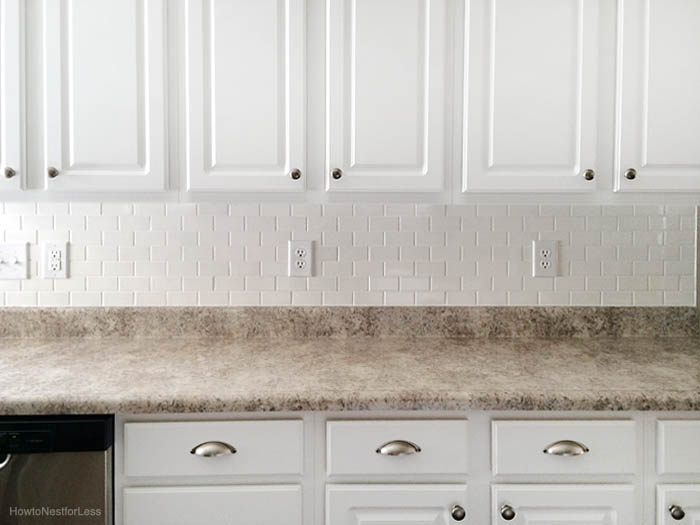
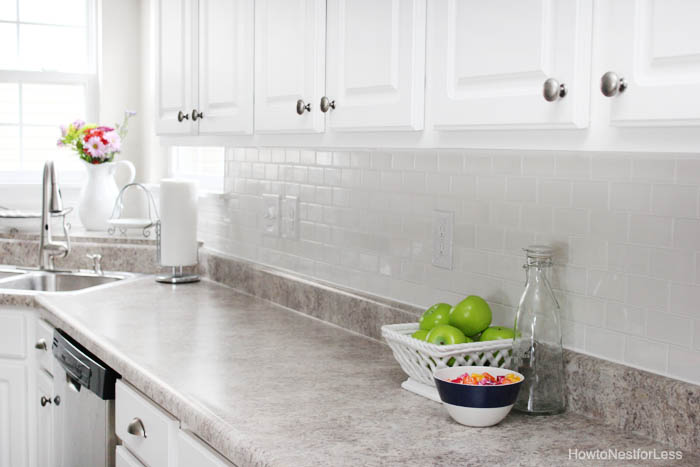
And here’s some detailed photos of the finished edging.
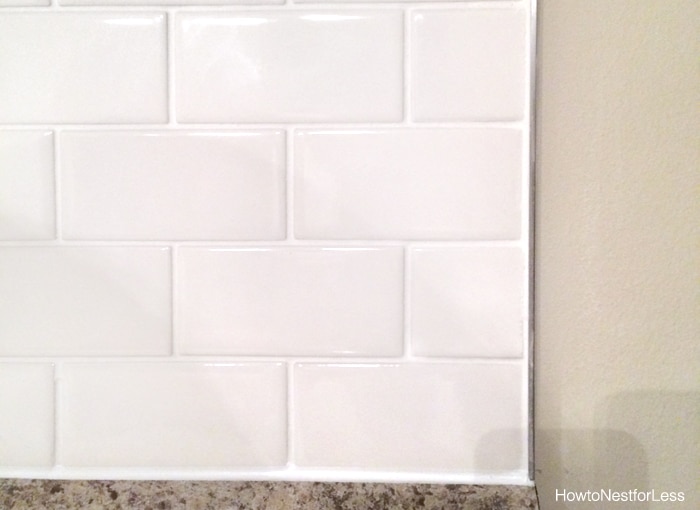
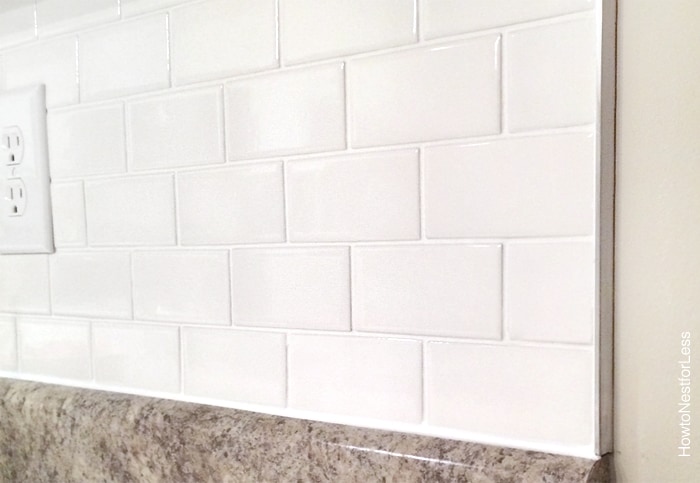
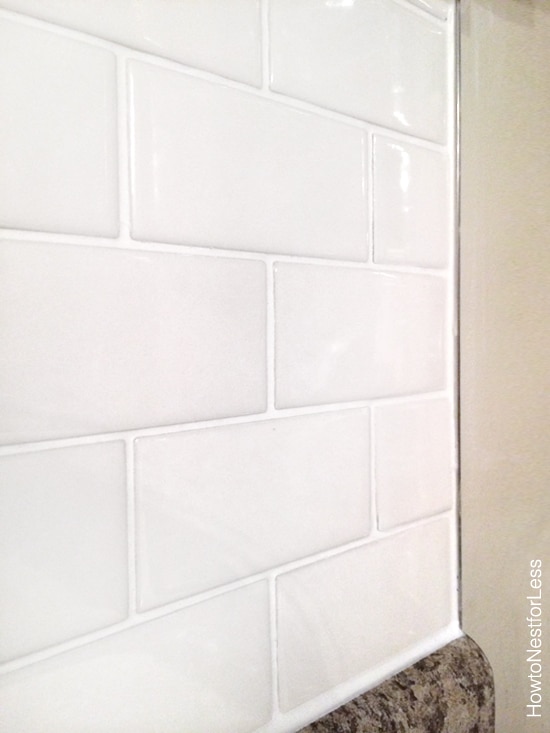
I’m loving the look of the new backsplash and so happy we conquered this project ourselves (with a lot of help from our friend Nick!). That’s how to install a kitchen backsplash!
TOTAL COST ON THIS PROJECT?
$248.46 plus tax
(does not include the wet saw).
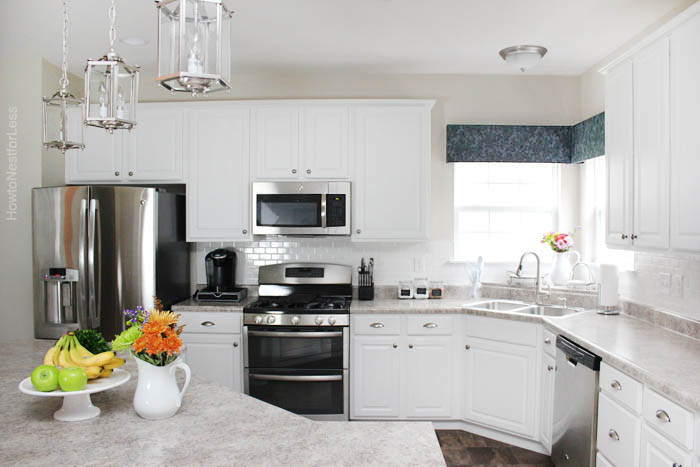
A couple of things:
- I’m still not confident enough to use a wet saw myself. If we didn’t have to work around our corner windows, it might have been a different story. I just don’t want to give you too much confidence though that this is a great beginner DIY project. Love that we can now install a kitchen backsplash (still with a little help)!
- Caulking changes everything! There were a couple areas where I was nervous how it would look in the end, but caulk hid pretty much all imperfections. Can’t install a kitchen backsplash (or any backsplash) without it!
- I’m glad we used the metal edging. It gives a nice, clean finish and kept our edges level and straight.
So would I do this project ourselves again?
YES, in a heartbeat.
I’m already thinking of my next tile project.
Original article and pictures take howtonestforless.com site
Комментариев нет:
Отправить комментарий