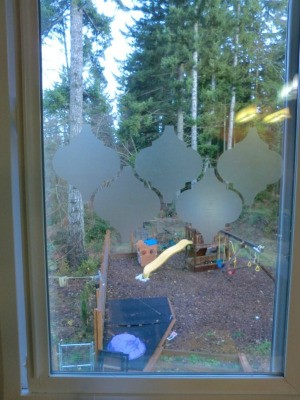
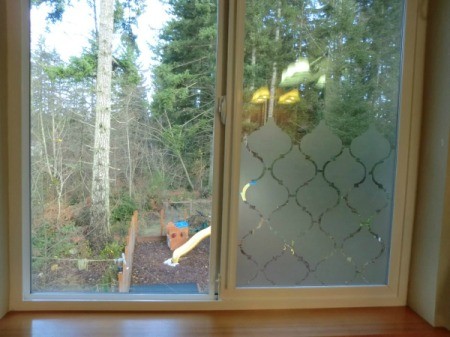
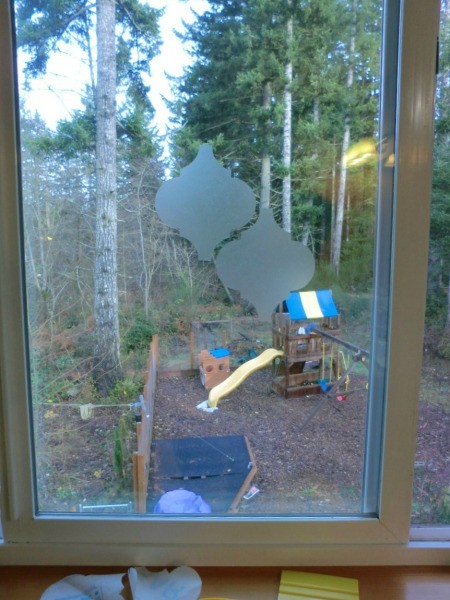
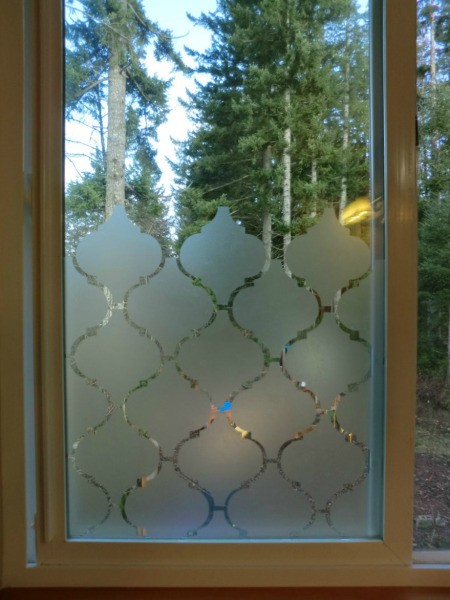
I decided that I didn't want to use curtains on our bathroom window so I was trying to find an alternative. I looked at the window films that they sell and didn't like how expensive they were. This idea I saw on Pinterest was much cuter and cheaper. So instead, I purchased a roll of contact paper and cut out shapes that nested together. I did just the lower half of the window to allow light in. The neat part is that clear contact paper actually appears frosted on glass. I absolutely love it!
Total Time: 2-3 hours
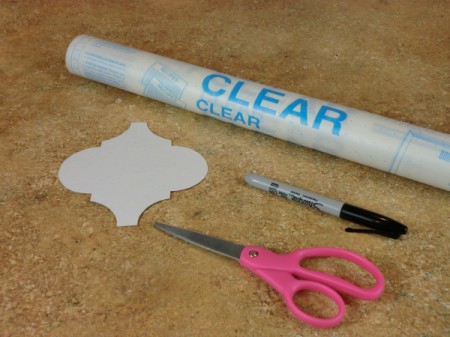
Supplies:
- 1 roll clear contact paper ($6.99)
- template
- scissors
- window film kit (cutting tool and squeegee), optional ($3.99)
Steps:
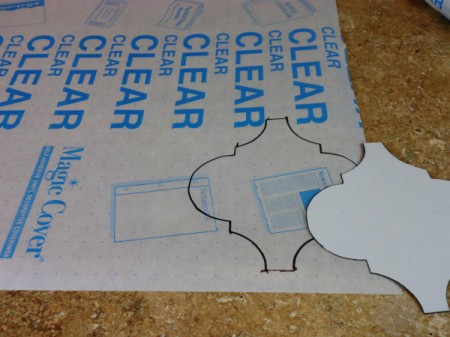
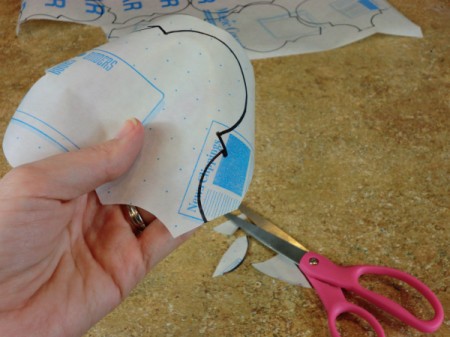
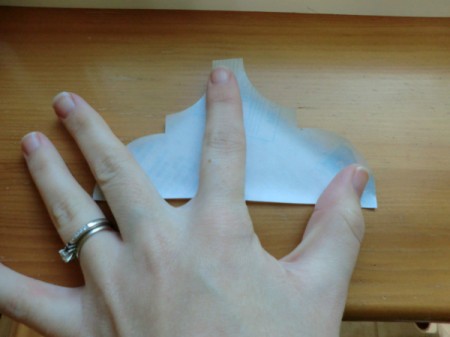
- Transfer your template onto a thin piece of cardboard and cut it out. Then trace around the template using a Sharpie onto the backing-side of the contact paper.
- Once you have a bunch of them traced, cut them out with scissors.
- I chose to start applying the shapes in the center of the window. So I measured to find the center, then marked that spot with an eyeliner pencil.
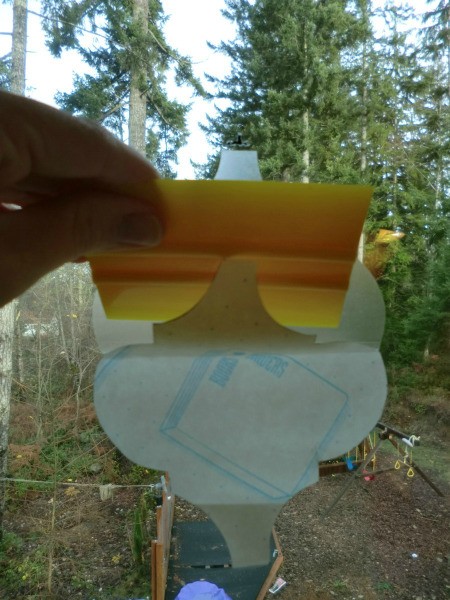
- Peel back part of the paper backing and adhere the contact paper to the window. Then use the squeegee to remove any air bubble as you remove the rest of the paper. NOTE: It is important to get this first shape straight so that all of your other ones line up properly.
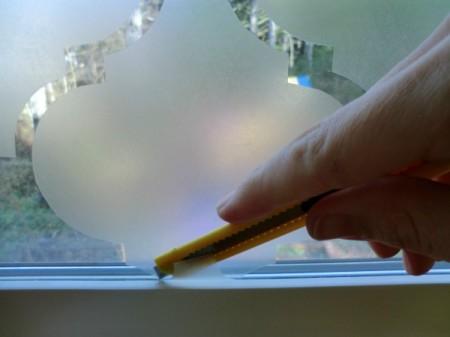
- Most likely you will need to trim the shapes down that are along the edges. I recommend adhering a full shape and then trimming it down. To do this, use the squeegee to adhere the shape up to the edge, then use the cutting tool to carefully trim off the excess where it meets the edge.
- In some areas I could tell that I would only use one half of a shape so I cut it in half before adhering it. That way I didn't risk ruining the other half when cutting it along the window edge.
- Now you have a privacy window without spending a lot of money. The best part is that conact paper is repositionable, so you can change the pattern later or just remove it.

Original article and pictures take www.thriftyfun.com site
Комментариев нет:
Отправить комментарий