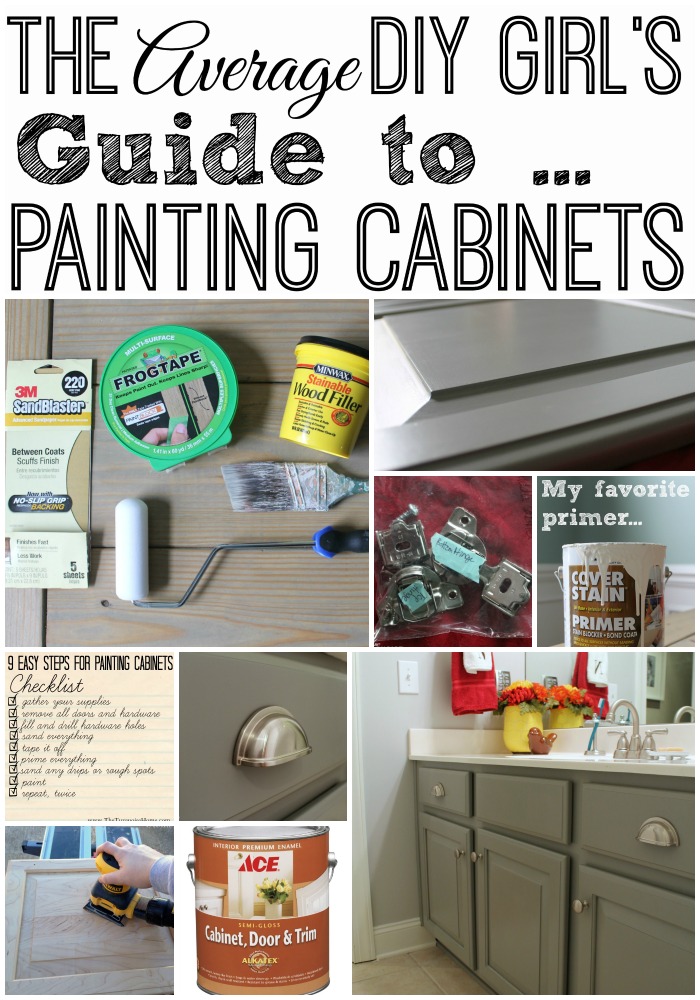
Painting cabinets can seem overwhelming, but it doesn’t have to be. Follow these simple steps without needing any professional tools and you’ll have gorgeous painted cabinets that you love!
Back when I revealed my guest bathroom makeover, I told you that I’d share all of the nitty, gritty details of painting the bathroom cabinets. I’m finally ready to share the Average DIY Girl’s Guide to Painting Cabinets. It’s so easy, no professional tools are needed! Yay!!
I’ve been wanting to paint cabinets for as long as we’ve owned this house. When we walked through this house to see it for the first time in the buying process, I noted all of the honey-oak cabinets and knew right then and there that I would paint them all.
But I have a little confession to make. I’ve been skeeeered.

I don’t own a paint sprayer and I didn’t have the money to pay a professional. All I could see in my mind was big paint drips and long brush strokes all over my cabinets. I know people paint their cabinets all the time, but my nearly perfectionist tendency didn’t want to mess them up and then have to live with something worse than honey-oak cabinets. So, I’ve been frozen. {Let it go …. anyone? We love that movie around here.}
Until … I found a little cabinet-painting secret.
When I went to Chicago last fall to visit Ace, I met Lou Manfredini, and he told me about Ace’s amazing Cabinet, Door and Trim Paint. He explained that you can brush it on and it will level and not leave any brush strokes! I was beginning to believe that this average DIY girl could actually do this!

So, for my big home project, I decided to tackle the smallest cabinets in my house first: the guest/kid bath cabinets. Baby steps, y’all.

Tools Needed for Painting Cabinets
- Sand paper (I LOVE this sander.)
- Brush {I use Purdy brushes, because they’re the best and will last forever. Mine’s been around the block a time or two … and is 15 years old.}
- Foam Roller
- Ace Hardware’s Cabinet, Door and Trim Paint – {If you can’t find it at your local store, then ask them to special order it.}
- Lots of waiting time.
And now … drumroll please … how to get that amazing painted finish …
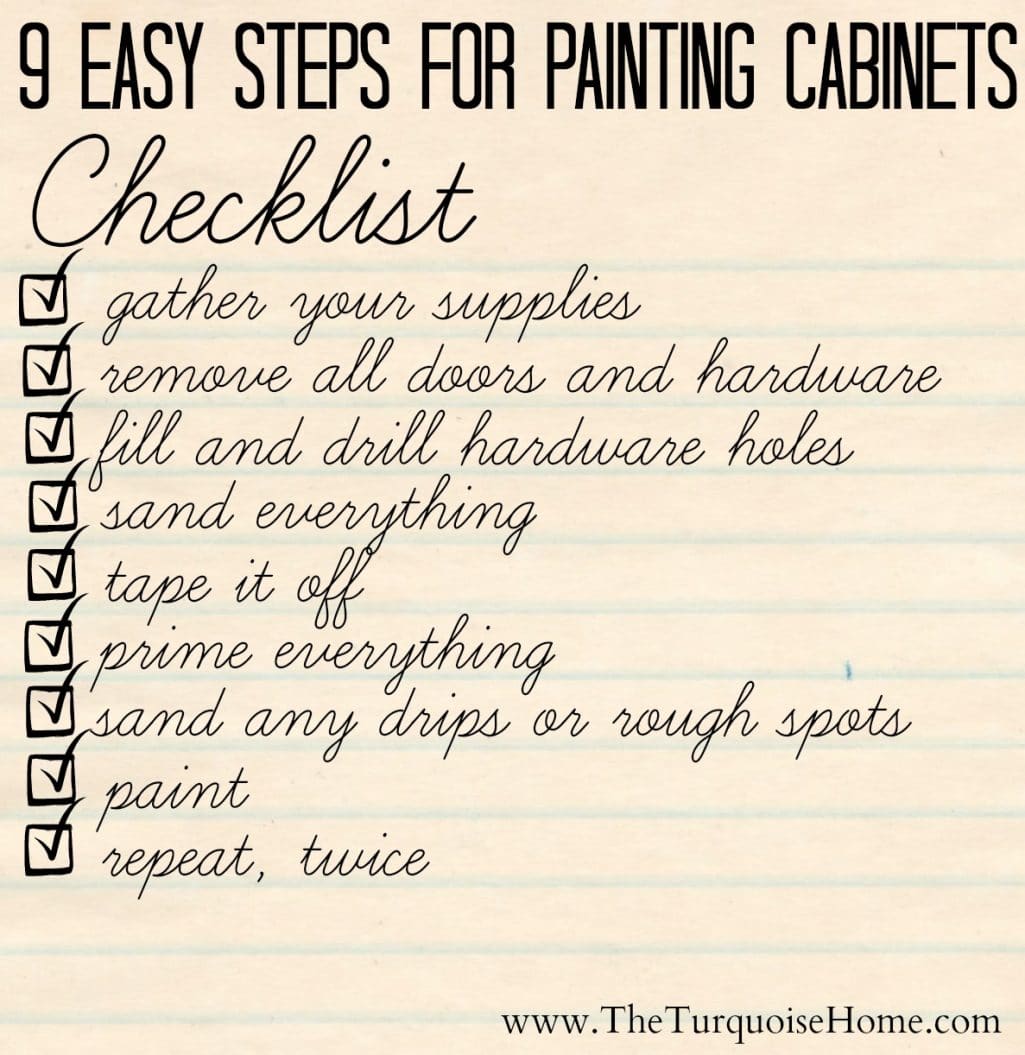
1. Gather your supplies.
Again, I’m your average DIY girl without all of the fancy paint equipment, so it’s simple brushes and rollers. Nothing crazy here!
2. Remove all doors and hardware.
Oh, and go ahead and remove the stuff from under the cabinets as well. I assume that’s obvious, right?
Make sure to label the hardware.

Trust me. If you don’t label and keep them separate, it’ll be a pain to get them all back in the right place. I know it looks like I followed my own advice, which I did. But one afternoon it was quiet and I found Miss A in the spare bedroom opening all of the baggies and making a nice little pile of hardware. I was able to resort most everything, but had to guess on a few.
Freebie tip: keep hardware out of reach of children.
3. Fill and drill hardware holes.
This is only if you’re changing out the hardware on your cabinets and drawers. In my case, I only changed the hardware on the drawers, so I just filled the one hole in the middle and drilled two new holes for the new hardware. (This is my favorite filler.)
4. Sand everything.
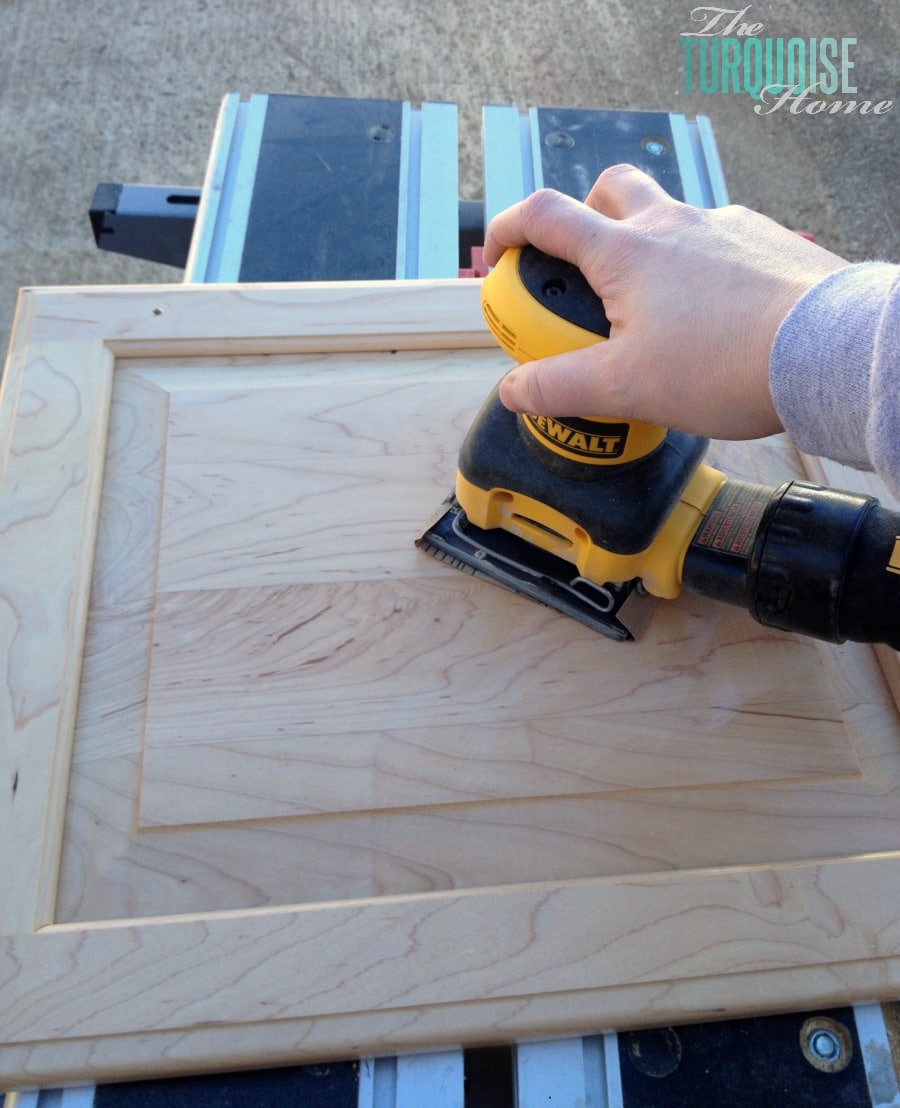
I took the cabinet doors outside and gave them a quick once-over with my finishing sander. I didn’t want to get all of the finish off, just lightly scratch them up to give the primer something to grip. And I hand-sanded the cabinet frame.
5. Tape it off.
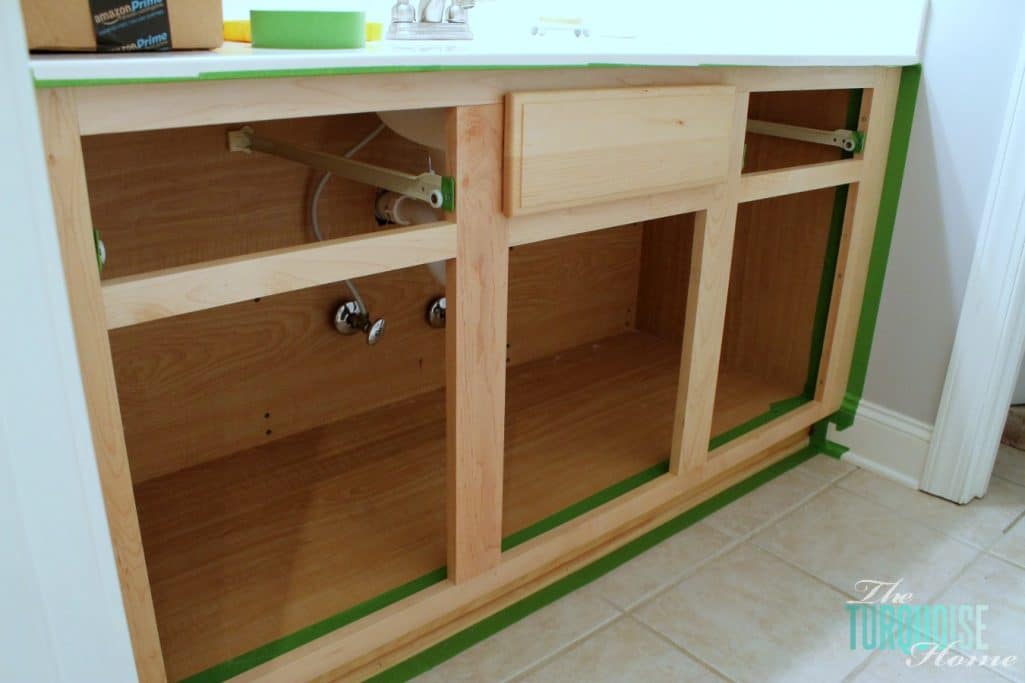
I didn’t want to paint the insides of my cabinets, so I taped around the insides and taped the walls and floor. I didn’t think that middle faux drawer would come out, but my mom figured out that it snapped right off. Made for much easier priming and painting!
6. Prime everything.
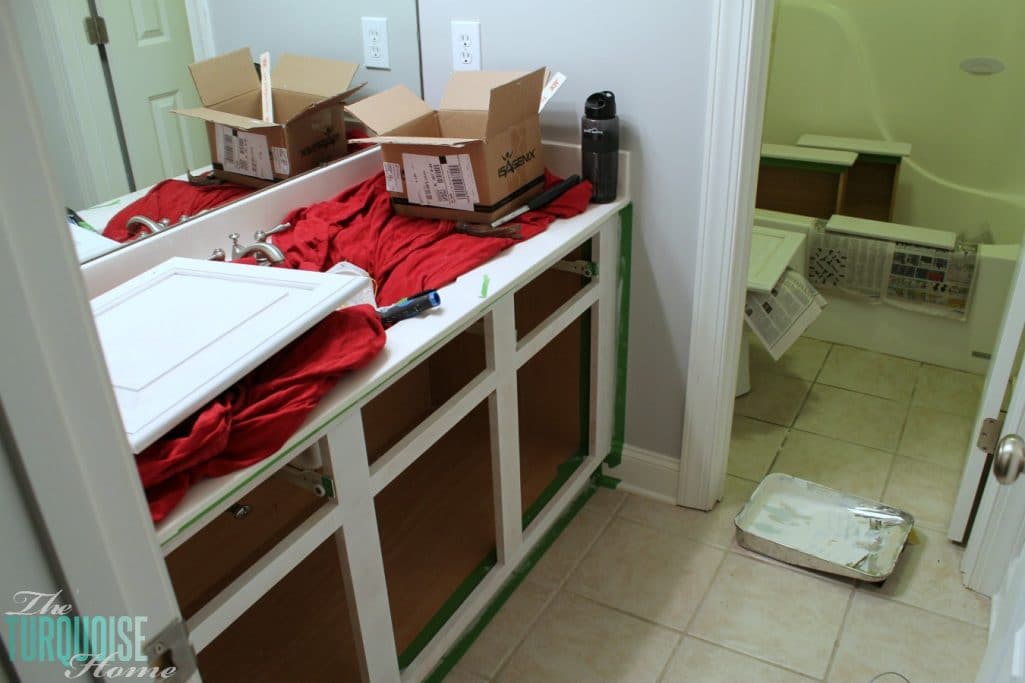
I normally don’t like to prime in the house, just because of the fumes and the smell. But, it was cold outside and since I had to prime the cabinet frame inside, I just set up shop in the bathroom – with the fan on. My mom came over to keep Miss A while I locked myself in there and worked quickly. {I moved everything out to the dining room to paint once the primer was dry.}
This is my favorite primer: Zinsser Cover Stain. LOVE it!

7. Sand any drips or rough spots.
I just lightly sanded any drips or rougher spots from the primer. Sand very lightly, because you don’t want to take the primer off.
8. Paint.
Ok, now that all the prep is done, it’s time to paint. This paint is pretty runny, because it’s self-leveling, which is good. So, you want to paint with very thin coats. Be sure to check back for drips frequently. So, here’s what I did.
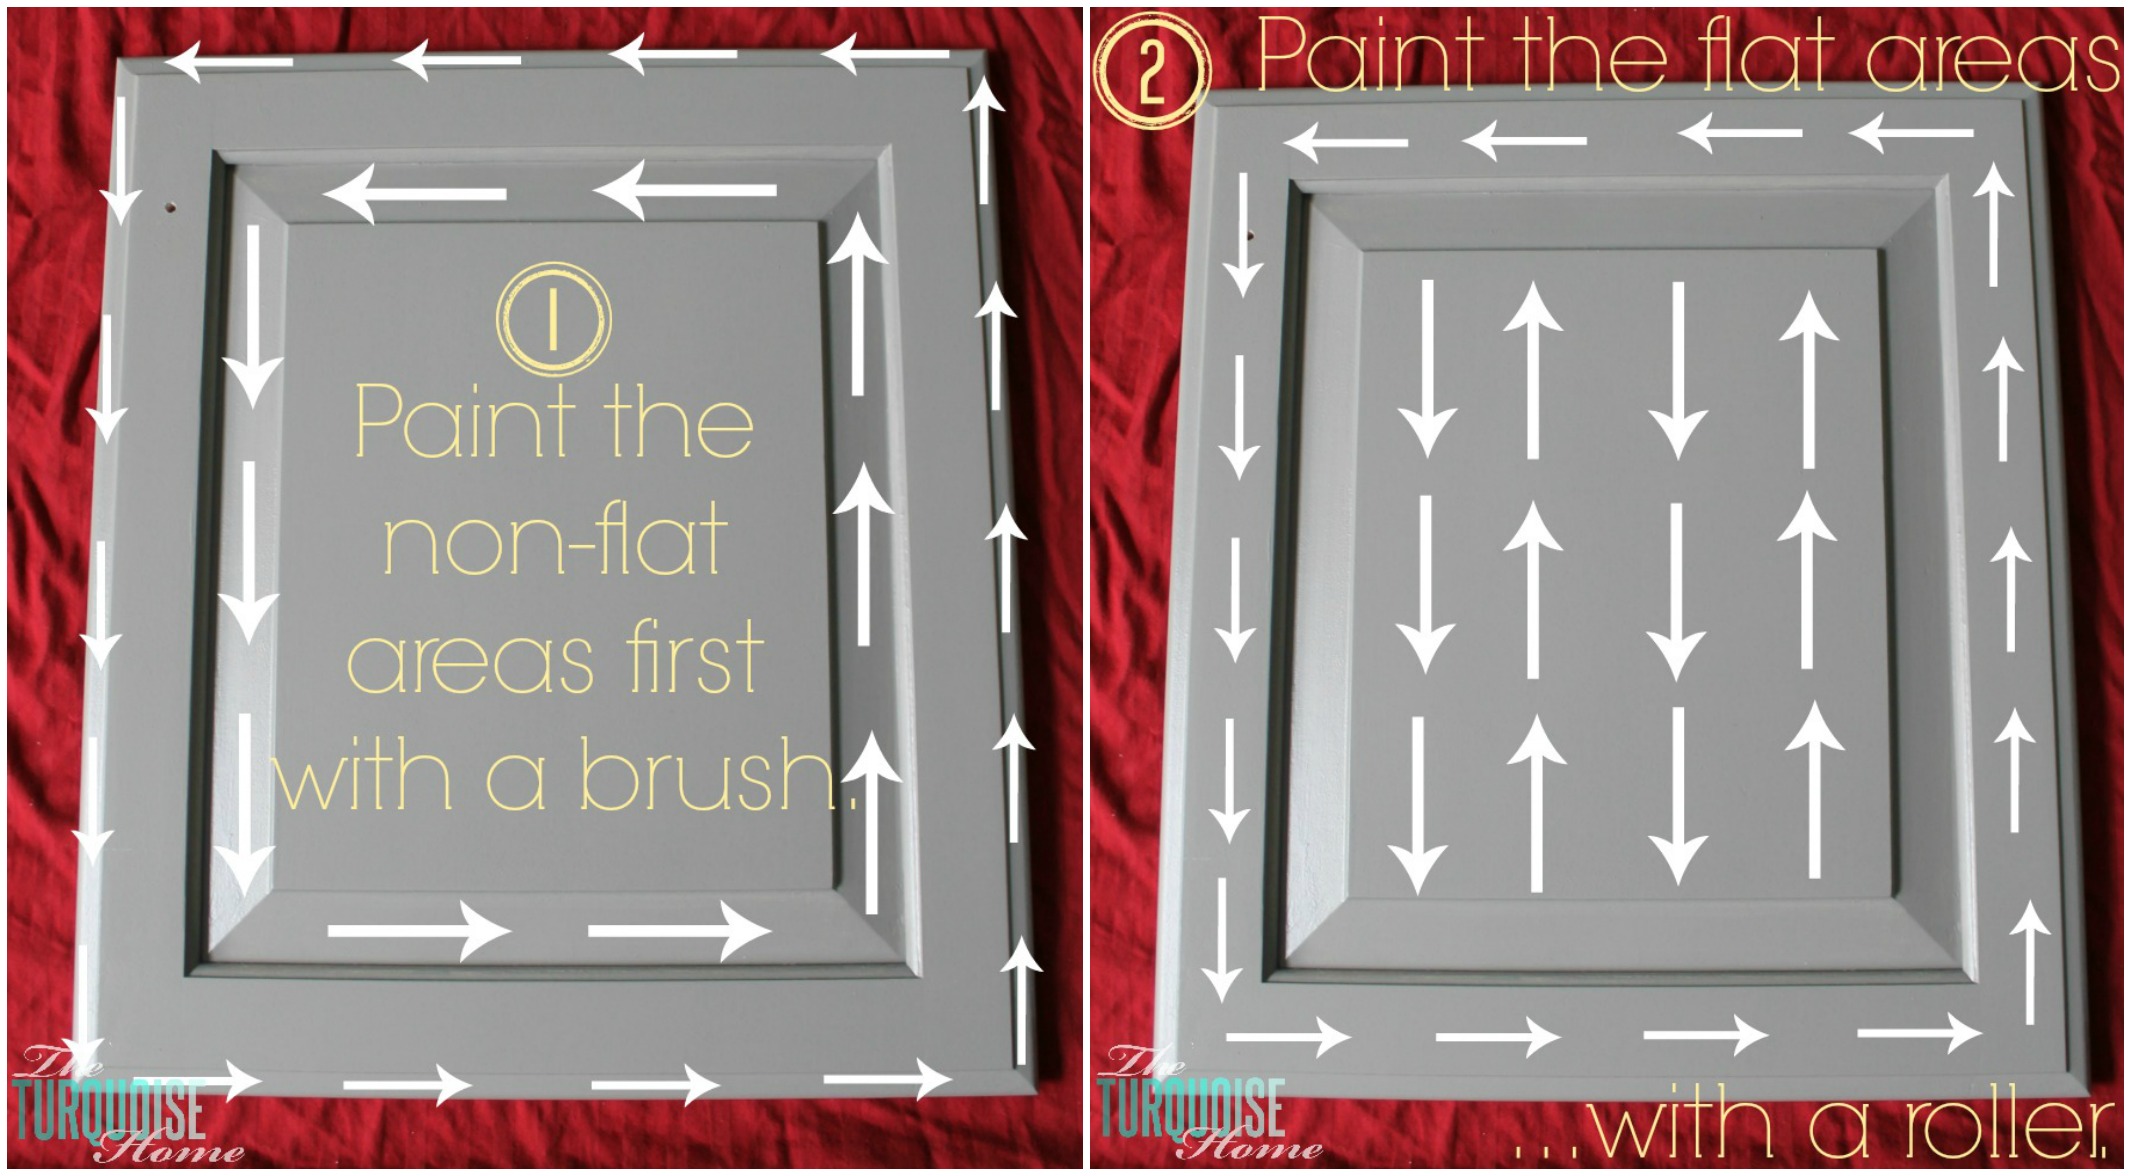
You’ll want to paint as much as possible with the roller because that gives the best finish, but the brush works too in the cracks, corners and crevices.
Like I said, let the paint settle for a couple of minutes and then look back over it for paint pooled in the corners or drips underneath the edges. The paint will still be wet enough to clean up those areas and will still level and dry flat. LOVE this paint!
9. Repeat, twice.
Yes, mine needed three coats. I didn’t sand between coats, but if you see some rough spots or drips, then sand them between coats.
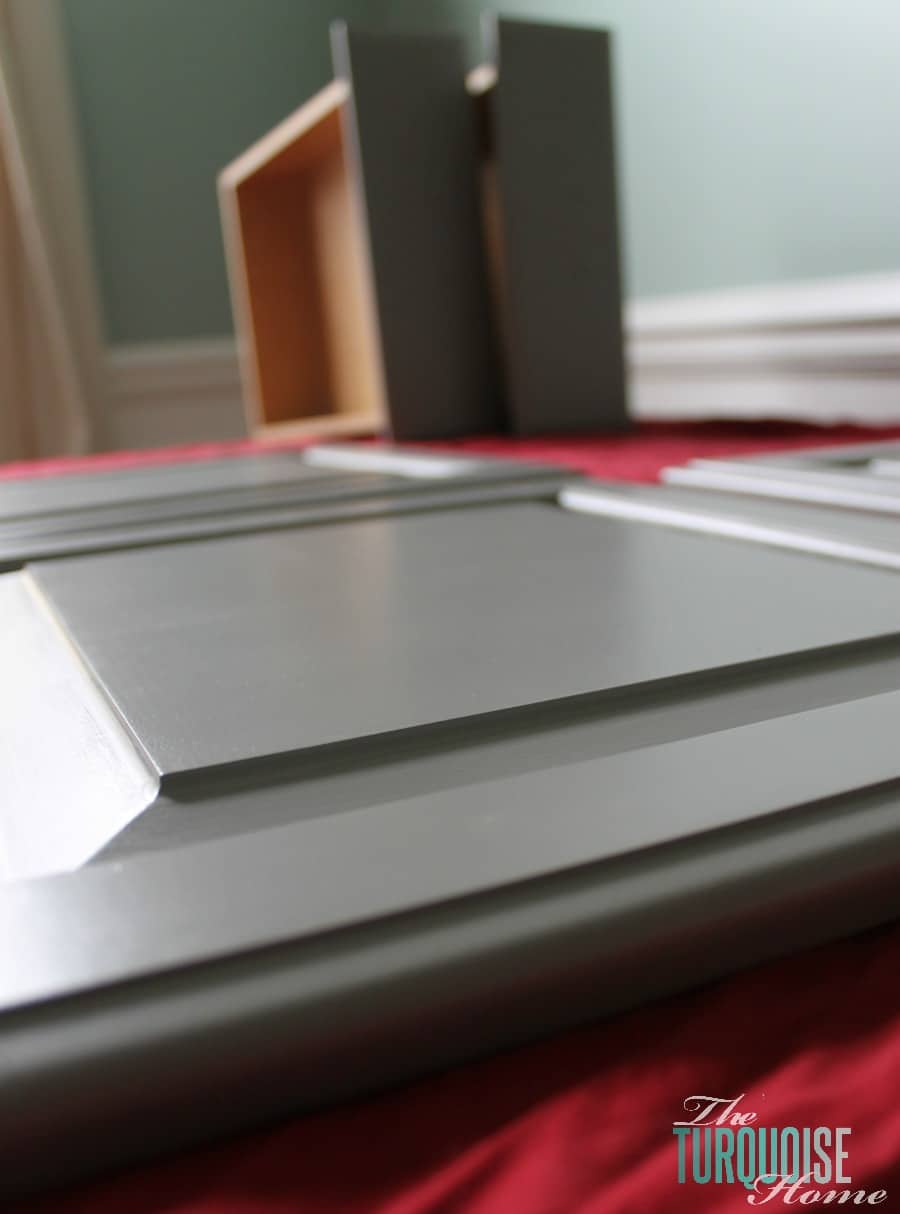
Plan on waiting 24 hours between coats and then as long as 48 hours before it’s completely dry. Believe me, this smooth, baby’s bottom finish is totally worth it!
It’s like glass, y’all!
If you’ve been skeered, like me, then I hope this motivates you to try it. Let me know if you do!
And if you’re a cabinet painting pro, then please leave your favorite tips, tricks and tools in the comments. Girls like me need your help!

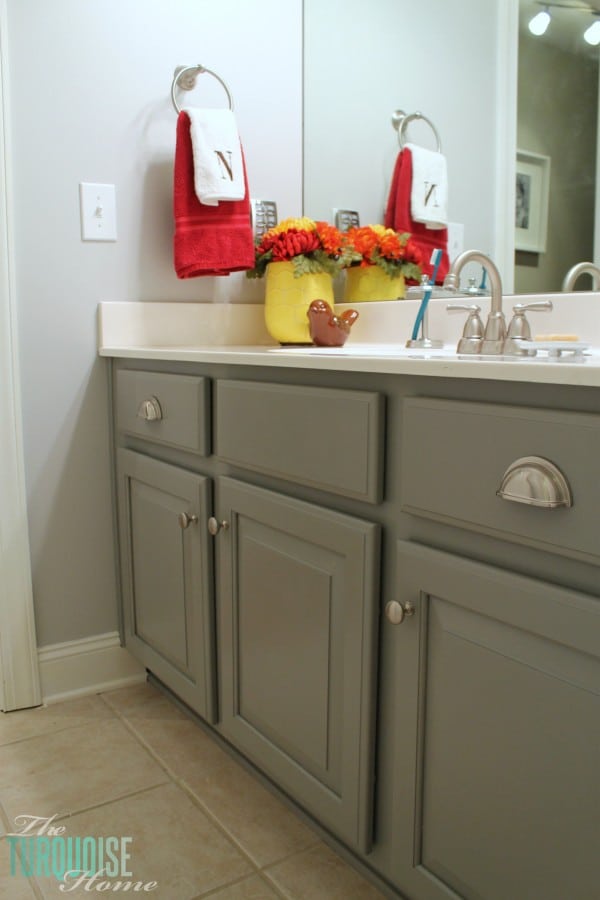
UPDATE: It seems like I left off a very important piece of information: the paint color. Duh! People keep asking me what it is, so I thought I’d share. It’s Ominous Cloud by Clark+Kensington (Ace Hardware’s brand). Hope this helps!!

Original article and pictures take theturquoisehome.com site
Комментариев нет:
Отправить комментарий