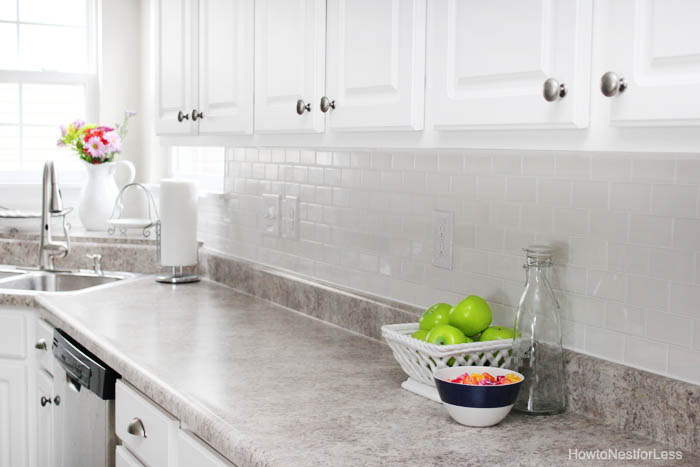
Yesterday I showed you guys my new white subway tile backsplash and I promised I would give you a cool tip and trick for how to caulk like a pro. Now I would like to take full credit for this, but my good friend Sarah actually gave me this tip. I at least get the credit for passing it onto you, right? Read on to learn how to caul like the experts do!
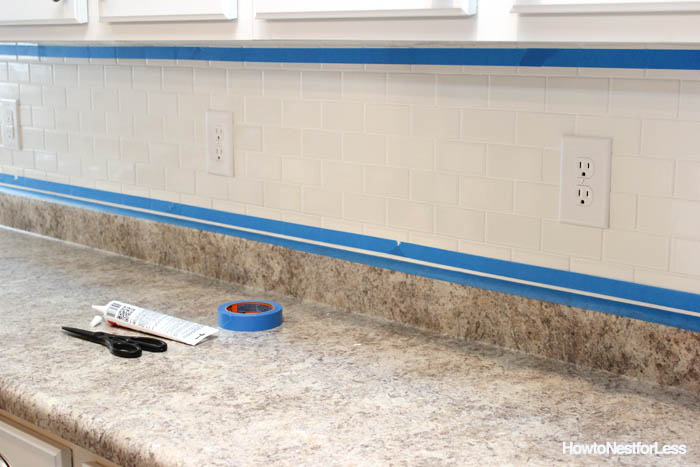
So what supplies do we need to make the cleanest, most beautiful caulk lines?
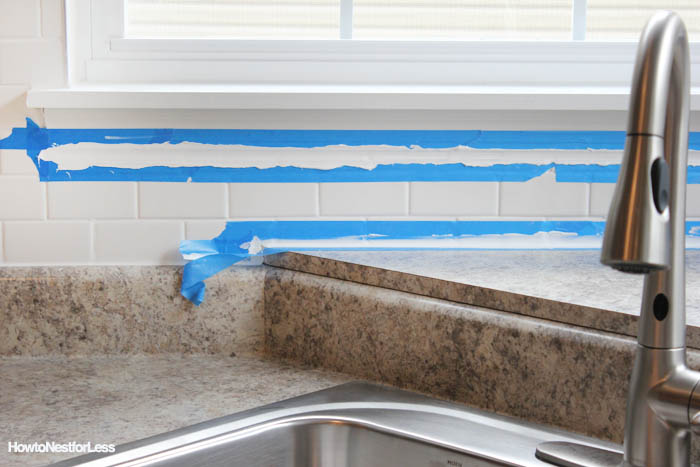
Painter’s tape and caulk.
That’s it.

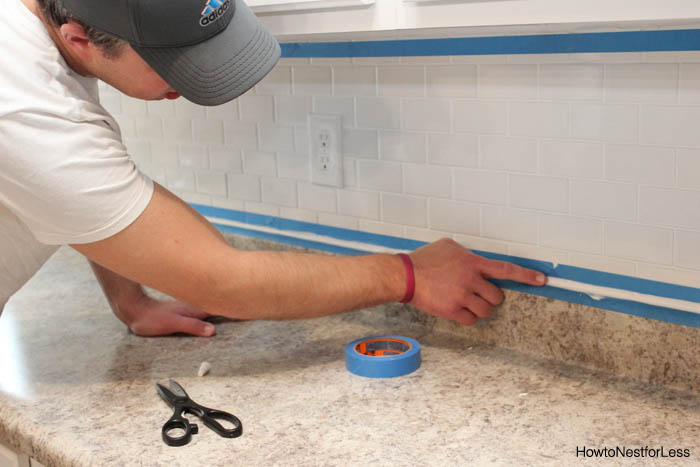
Basically you want to tape just above and just below where you want the caulk to go. For me this was leaving a little bit of countertop showing on the lower piece of tape. Painter’s tape is key in learning how to caulk like the big boys.
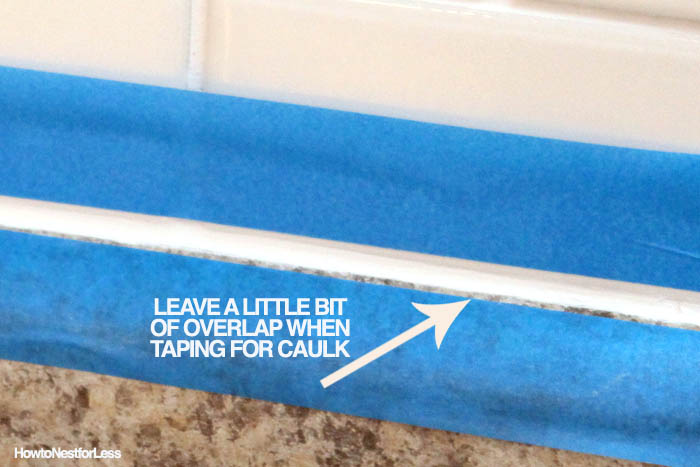
Just make sure you keep about the same gap size the entire length of your project.
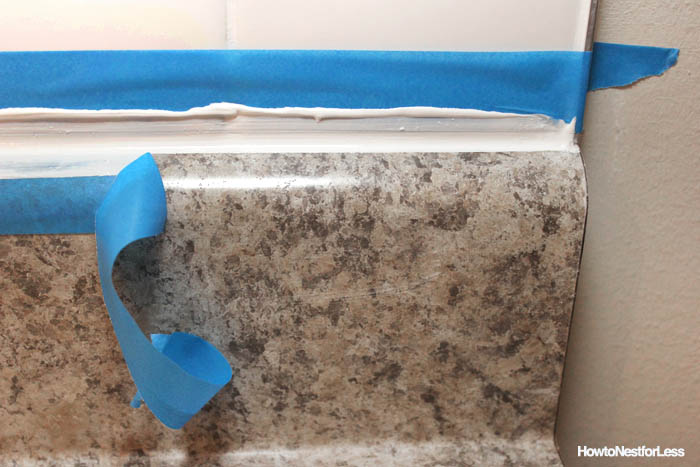
Next we squeezed a thick line of caulk in between the pieces of tape.

Then we ran a finger across the caulk to smooth it out.
Don’t be scared at this point if it looks like a complete mess.
Ours did. I’ll have to admit I was a little nervous at this point.
But about 5-10 minutes later we started to peel up the painter’s tape and we saw some beautiful crisp, clean caulk lines! The caulk wasn’t dry at this point, but I wanted to let it set for a couple minutes before removing the tape, and not far enough along the drying process where I would run into any issues of the caulk peeling up with the tape.
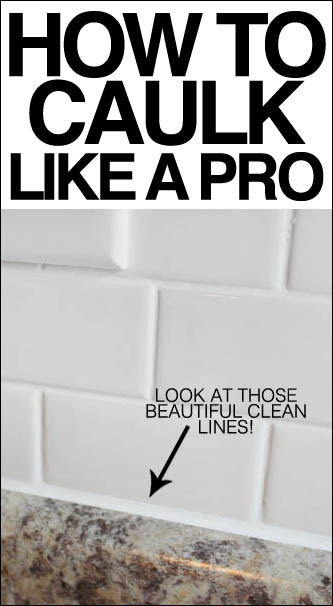
And here’s the final caulk line…
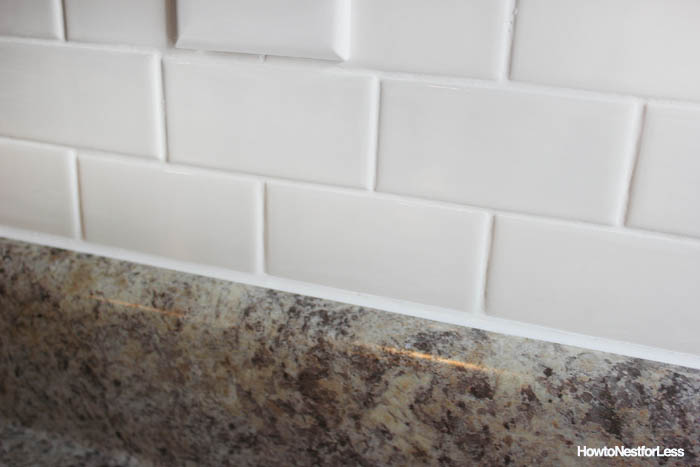
And a closeup so you can see this actually works!
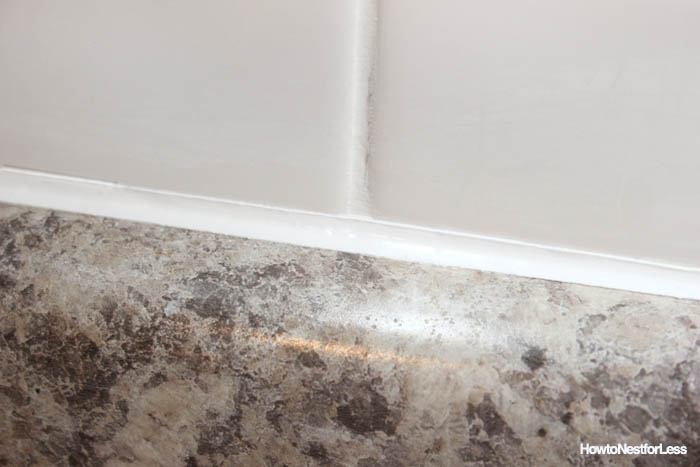
Seriously, isn’t this cool?
Who knew caulk could be so exciting.
Ok, maybe I’m overshooting here.
But it’s still a cool trick, right?

Don’t forget to check out my complete kitchen tour!
Original article and pictures take howtonestforless.com site
Комментариев нет:
Отправить комментарий