I wrote this “How to Paint Your Kitchen Cabinets (like a pro)” tutorial after painting my own kitchen cabinets. I have since quit my corporate job and started a small business painting cabinets and furniture, so this tutorial has become somewhat of a living document, based upon loads of research, experience and practice. I try to keep it updated with new products, tips and techniques, since I am continuously learning as I continue to grow my business and hone my own skills.
If you’re interested in reading about this project in process, you can read about it here and here. You can see my kitchen reveal here and the full evolution of the kitchen in photos here.
If you’re interested in ONLINE VIDEO TRAINING, with me coaching you through the process, click here for more information.
If you’re in the Dayton/Cincinnati area, and want a quote for painting your cabinets, contact me.
********************************************************
Updates
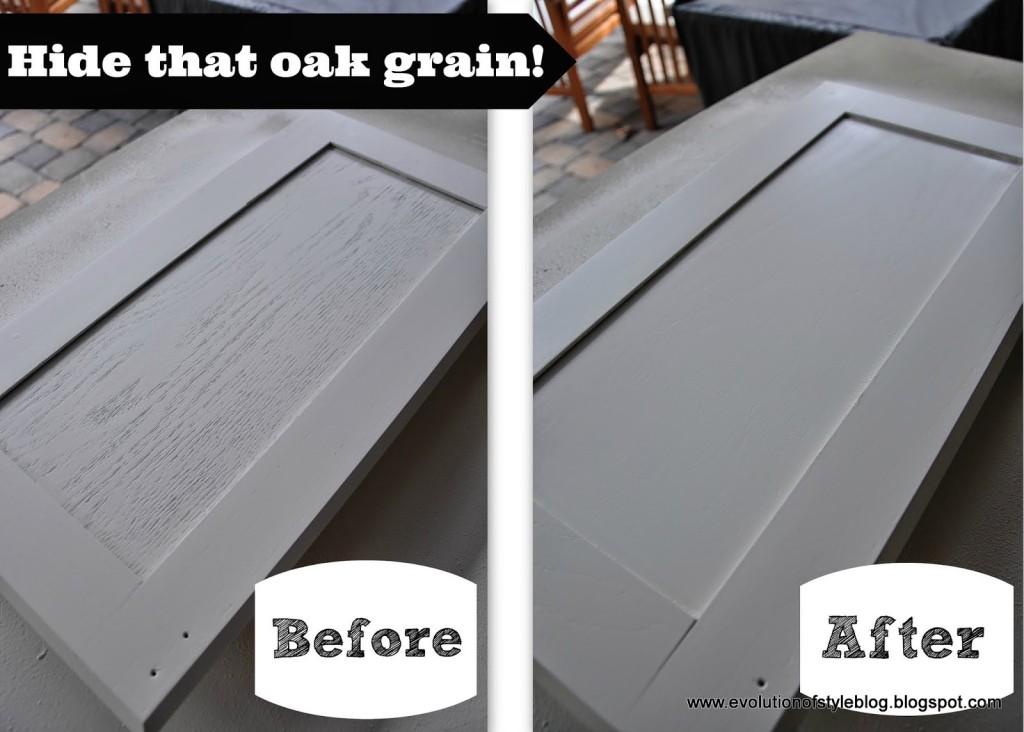
Are you painting oak cabinets?
More tips and tricks for tackling oak cabinets, including how to hide the grain, and some great go-to paint colors! Click here for all of the details! Here are some of my favorite oak cabinet transformations from my portfolio:
Do you have questions about prep?
Are you concerned about prepping your cabinets? Are they unfinished or previously painted? Check out this post on 5 Cabinet Painting Problems Solved.
Are you looking for the right tools to get the job done?
The more projects I do, the more tools and products I find. Here is my latest list of great tools to get the job done more efficiently and with a great finished look. Five Favorite Tools for Painting Cabinets and Furniture.
Do you have questions about paint sprayers?
Check out this post from my “Painter in Your Pocket” series as your guide.
*********************************************************
*This post contains affiliate links*
I apologize in advance on the length of this post, but I wanted to make sure I covered everything in one fell swoop. That said, I’m sure I forgot something, so feel free to ask any questions you may have.

I have put together a FREE COMPREHENSIVE SUPPLY LIST for you, and you can download it here:

I did a great deal of planning and research before tackling this project, and continue to develop and learn now that I’m painting cabinets for clients, so I hope you’re able to learn from my obsessive-compulsive tendencies.
First things first. These are some of the most important things to know and consider before taking on a project like this.
1. Unless you have hired help (or a household that will take on all of your responsibilities while working on this), the rest of your house will suffer during this process.
Ok, maybe I’m being a bit dramatic here, but this was my personal experience. However, I should preface this by also mentioning that I worked full-time (outside of the home), when I painted my cabinets, and spent just about every non-working moment on this project in order to get it done. So, for me, this meant that my typical laundry “pile” turned into a laundry “mountain”. The entire house was a wreck, and the hubby and kids had to fend for themselves for the 2-3 weeks that I spent focused on painting. My kids may or may not have eaten cereal out of the box for dinner several nights in a row.
2. Invest in help from the experts.
I had three big questions in researching this project:
- How do I best prep my cabinets for painting?
- What kind of paint do I use?
- How do a I choose a paint color?
I looked at a lot of different kitchen cabinet projects online, which was helpful, but I urge you to talk to the pros at your local paint store. I’m not talking about the teenager that is working at Lowe’s. I went to a paint store where the guys working there knew their stuff. I brought in one of my cabinet doors and they could tell me immediately what kind of prep work I needed to do and the best paint to do the job.
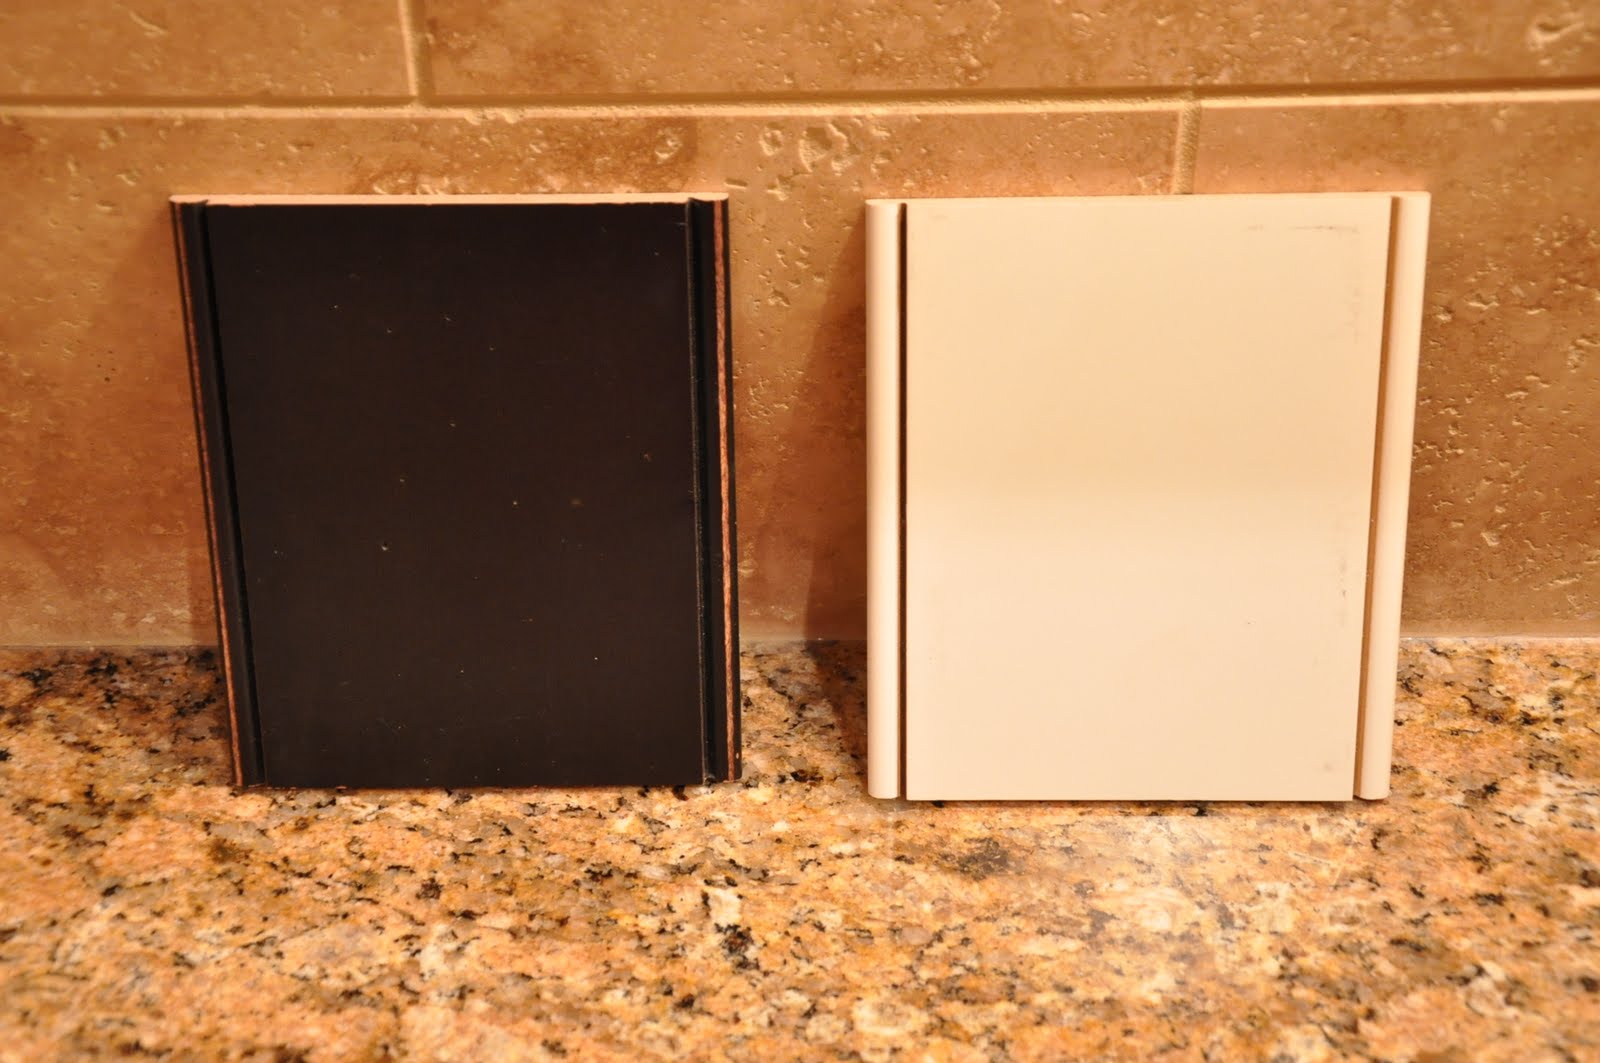
I also went to a builder’s supply center and looked at different cabinet finishes to find the color/finish I wanted to have in my own home. I took cabinet samples home and decided on colors based on those samples. The awesome guys at the paint store did a color match on the samples, and I’m thrilled with the result.
Here are the samples I used and had color matched for the island and the kitchen cabinets.
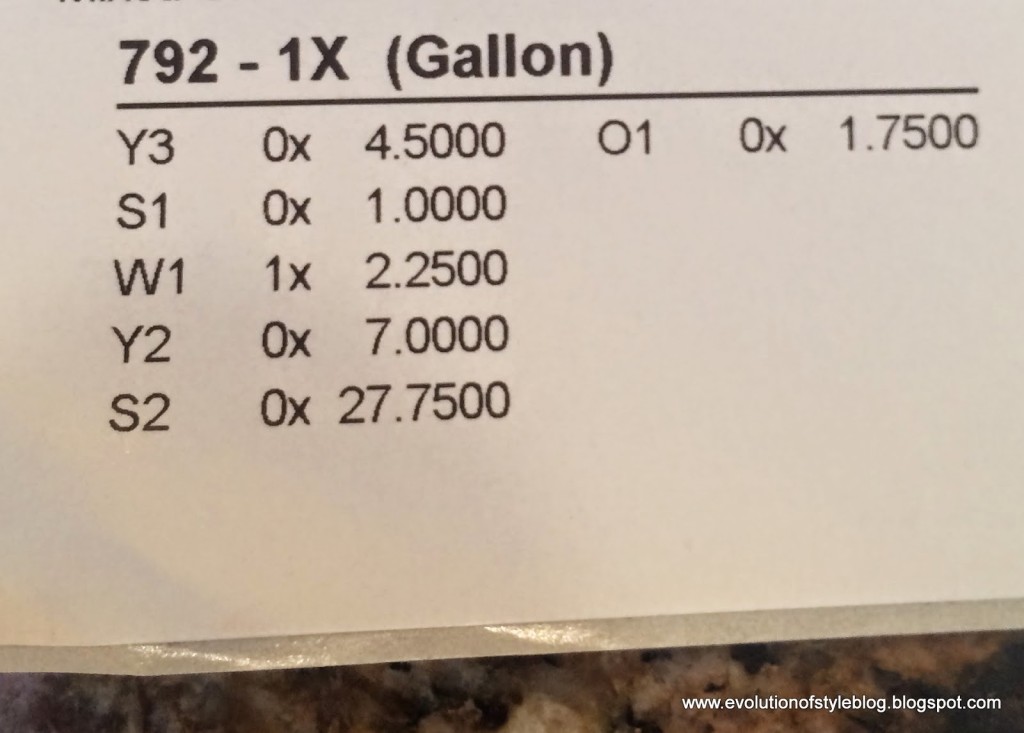
What color did you paint your cabinets?
I have gotten a lot of questions about the color that I used on my cabinets. As I mention above, I had the cabinet samples above color matched for my kitchen paint colors. Below is the formula for the white I used on a bulk of my cabinets. This is a formula for Benjamin Moore paint, and I used their Advance paint product for my cabinets. Don’t use this formula for other paint manufacturers.
3. What is the best method to get the job done and make it look professional?
I know there are a lot of opinions and methods out there, but after painting the kitchen island, (using a sprayer for the doors, and hand painting the frame), I knew that painting the cabinets with a brush would not produce the look that I wanted, since I have a lot of raised panels and detail work.
However, if you don’t have a lot of raised panels on your end cabinets, I say paint your frames with a brush/roller. I still recommend spraying your doors and drawers, but there is some wiggle room with the frames. Just make sure you use a high quality brush like this one, and mohair rollers. Using high quality tools will give you a high quality finish.
 |
 |
The clincher for me was seeing this video of someone painting kitchen cabinets with an HVLP sprayer. HVLP = High Volume, Low Pressure. It is a dream for a project like this since you have so much control over the spray in terms of volume and area. You can dial it down to a targeted, narrow spray for corners and small areas, or you can open it up to give you a much broader spray as well. I didn’t buy the sprayer in the video, but the seed was planted. I knew this was the way to go (for me).
However, these paint guns can be expensive, since they hook up to a turbine (which I now have and use for client kitchens). But, I did some (more) research, and found one that I could hook up to our air compressor (ours is a 6 gallon 150psi, which was more than enough power) for a fraction of the cost. Enter the Wagner HVLP Conversion Gun of Awesomeness.*
(Ok, it’s not called a Gun of Awesomeness. I just think it is.) This is the gun that I used when I painted my own cabinets, and the results were nothing less than flawless.

If you don’t have an air compressor, you can go with a gun like this Graco TrueCoat Plus II paint sprayer. Thrifty Decor Chick used this to finish off her cabinets after my house call when I had the opportunity to walk her through the process. She loved this sprayer, and if you saw her kitchen, you’ll see that it got the job done beautifully.

So, let’s get to the details. How did I prep my cabinets? What kind of paint did I use? What finish did I choose?
Paint Prep
Before we dive in too deeply on paint prep, let me first say that this is not a step where you want to take short cuts. I know a lot of paints claim that they are “no prep”, but if you’re investing the time to do this kind of DIY project, and you want a professional finish, you need to put in the work. I can’t tell you how many times I’ve cleaned cabinet doors and then sanded them, only to reveal all sorts of gunk that I never would have noticed otherwise. Since my cabinets didn’t have a glossy finish on the to begin with, I cleaned them Krud Kutter Gloss-Off, which is a great all-in-one cleaner AND deglosser and then gave them a light sanding. I have since invested in a nice orbital sander and dust extractor and use it for client jobs, but I will say that my light sanding has held up nicely in my own kitchen.

You can see the primer and paint that I used here as well. Benjamin Moore’s Fresh Start Primer and their fantastic Advance paint. Again, I’m going on the advice of the experts here (he recommended a different primer for glossy surfaces, but I can’t remember what). I cannot say enough good things about this Advance paint. Oh. my. goodness. The paint store guy/expert said, “It’s revolutionary.” He said that it’s basically an oil-based paint that acts like a latex (even though it is a latex paint). You get all of the good points of an oil-based paint, with none of the negative. It hardens like an oil, wears like an oil, but cleans up like a latex and it doesn’t smell like an oil! See? Revolutionary.
For a more detailed breakdown on prep, you can check out this post from my “Painter in Your Pocket” series that is exclusively dedicated to prep work.

I have experimented with a multitude of primers over the past few years, and while Fresh Start has held up nicely on my own cabinets, I am also a big fan of SealGrip by Porter Paints. It’s awesome for oak cabinets too, in that it keeps the oak grain from bleeding through the paint, and it’s water-based, which I love. Plus, it really holds up when cabinets need to be transported for clients.
If you’d like to look at other paint options, I shared a comparison of two great products that I love. They’re both solid products, with pros and cons associated with each. It all depends upon your priorities and preferences.

But, before you can get moving with your actual priming/painting, you need to remove your cabinet doors and drawers. I highly recommend putting together some sort of numbering system so that you don’t lose track of what goes where. While it all seems to make sense when you’re planning, trust me that you will be glad you did this when your paint-weary brain goes to put the doors and drawers back.

TIP: I started out my labeling like this, but the best way is to take a piece of painter’s tape and number your cabinet doors and the corresponding frame so that it’s easy to match them up when you reinstall. Put the hinges in a Ziplock bag, and store them in the corresponding cabinet/drawer space. Take the time to number your doors and drawers, because things can get ugly really fast when reinstalling your doors/drawers if you don’t.
Below, my cabinet coding translates to – Right of stove, cabinet #28, right bottom (RB). Believe me, when you’re exhausted and swimming in a Sea of Cabinets that need to be put back in their proper place, you’ll be thankful for this little extra help.
This is especially important if you currently don’t have knobs on your doors, and you’re planning on adding them. Label the door so that you know whether it’s a right or left sided cabinet so you make sure to drill your holes in the correct spot. Just trust me on this.

You will also need to tape off the insides of the cabinets, the countertops, floor, even some of the ceiling. If you’re planning on painting the walls, do it after you paint the cabinets – you’ll save some time and trouble in taping off the walls in addition to everything else. This was, by far, my least favorite part of this project. Taping off the insides of cabinet frames is harder than it sounds. But, I can offer you some advice that I learned along the way.
TIP: Tape off the bottom, sides and top of the frame first (newspaper works well for this), and then tape off the back of the inside frame.
You can see what I mean here:

Versus here where I was trying to tape off right at the edge of the inside frames. Don’t ask me why it took me so long to figure this out, but it was a maddening process. (And don’t mind the water spot on the contractor paper – it’s from the water dispenser in the fridge. I swear.)

You will need to go all Dexter-like and tape off any open areas in your kitchen to avoid spray particles from floating through your house.

One smart product I have started using for cabinet paint projects is the Zipwall. So. much. easier than trying to tape the plastic to the ceiling. Not to mention that you can pull it together in a matter of minutes. Love it. See how great it is here? Again, a brilliant idea. Great for for containing paint overspray or drywall dust. Plus, the metal poles can be used alone to help hold up crown molding when you’re installing it. Who knew?

And really, if you want to paint the frames with a brush, you could do that and save some of the trouble. But, again, since my frames had a lot of raised panels, I wanted the clean look that the HVLP sprayer provides, and it was worth the extra prep work.
You will also need to set up a staging area and a “spray booth” for painting your cabinet doors and drawers. Again, this is where the Zipwall is worth its weight in gold, and it’s what I’m currently using in my spray area. If it’s warm enough, you can do this in your garage. I ended up setting up shop in our basement storage area. The great part about this space is that there are doors that lead to the outside, so I could open them up for ventilation. Plus, it gave me room to create my little spray booth and space to let my cabinets dry. This is pre-Zipwall:

You can see that I have a little table set up here, with a piece of MDF (that is actually a large storage shelf). I nailed five finish nails on this board so that I could easily maneuver around the cabinet door to paint and not worry about the door sticking to anything when I had to move it. The same holds true for the area outside of my spray booth, where the cabinets were set to dry. Since I was painting both the front and the back of my cabinets, I wanted to keep the drips to a minimum, as well as the possibility of them sticking to anything while drying, and the nails allowed for this.

 |
| Note: I don’t flip my cabinets and paint the other side without waiting. I have never been successful in that, and if you are, I’d love to see your technique. But, these are great to use when spraying your cabinets. |
Note: I obviously removed the hardware before doing this, and also used Elmer’s wood putty in one of the holes since I was going with knobs vs. pulls on the cabinet doors. Make sure you plan out the placement of your knobs and pulls before you start painting, to avoid wasting time at the end of the process making adjustments that would require more priming and painting.
Priming and Painting
Before you begin spraying your cabinets, practice on a large piece of cardboard or an old box so that you can get the hang of the spray gun and figure out how to best adjust the settings. It’s really very simple to use and I promise you that it doesn’t take long to get the hang of using it.
You can easily control the flow of the paint, direction and diameter of the spray and the amount of air pressure as you go along. It just takes some experimenting to get used to it. This was my first time using it, and you saw my results!
Here are some diagrams from the instruction manual that illustrate what I’m talking about here:
 |
Paint pattern size:
 |
Air and paint flow control:
 |
TIP: If you’re going to paint both sides of your cabinet doors, start by painting the inside of the cabinet first. That way, if you make any mistakes or have problems, you’ll learn early and it will be on an inconspicuous part of the cabinet. Plus, this way the cabinets will end up drying with the outside of the cabinet facing UP, and you don’t have to worry about any potential scratches or indentations from the nails that are used to balance your cabinets for drying. You will have a freshly painted cabinet surface when you rehang your doors.
Start by priming the outside edge of the door with a narrow spray, making sure that you cover the outside edges of the door.


Once you get into a rhythm, you can blow through the doors relatively quickly. The priming probably took the longest, because I only used one coat of primer and wanted to be sure I covered the doors really well. I followed the primer with two coats of paint. Once you get started, it’s a hurry up and wait kind of process. For the primer, I gave it a good 24 hours to dry for each side. For the paint, it’s a 16 hour wait time in between coats, which essentially amounts to a whole day for each coat. For each side.
If you do these sorts of projects regularly like I have started to do, you might want to consider investing in an Erecta Rack. It takes up way less space and allows for your doors and drawer fronts to dry and store away easily if you’re short on space.

TIP: Clean your HVLP spray gun after you’re done for the day. It’s really easy, so don’t be intimidated! All I had to do was empty the paint out of the spray cup, fill it with warm water, and spray it out until the water ran clear. (Of course, instructions are provided with the spray gun). Also, you don’t need to clean the needle every time, as indicated in the directions. That is something that needs to be done more occasionally.
So, do the math. Two sides, one coat of primer, two coats of paint. You’re talking about at least week of just painting and waiting. Then you want to let them sit and cure a bit before you rehang them. I recommend 2-3 days of cure time once you have completed all of the priming and painting.
While your doors are curing you can tackle the frames (or at least that’s what I did). I saved this piece for last, because this is what rendered my kitchen pretty much inoperable since you’re taping EVERYTHING off in order to get a clean spray of just the frames. The same process holds for the frames also:
TIP: Since gravity is working against you on the cabinet frames, I recommend using a fine spray so that you avoid drips as much as possible. If you do get drips, the paint experts told me to avoid sanding too much in between because the paint can gum up since it’s not cured. If you have drips, you might want to wait until it’s fully cured and then sand, as it will be more “sand-friendly”. You can touch up with a small artist’s brush.
The paint experts told me that it takes 30 days for the Advance paint to fully cure. Don’t panic – it’s not like you’re going to be working with sticky cabinet doors or anything. Just use a little extra caution in the first month.
Once your doors and frames have cured enough to reassemble your kitchen, the fun part of putting your kitchen back together begins! From here, you can install new hardware if you have it, reinstall your hinges (or replace your old ones with new), and then rehang your doors and drawers.
TIP: When you rehang your doors and drawers, go with felt bumpers like these rather than the clear kind. I’ve noticed that the clear ones have a certain amount of sticky to them that can pull the paint off the frames over time.

If you’re installing new hardware and need help on where to place it, pick up one of these handy little tools to save you some time and headache:
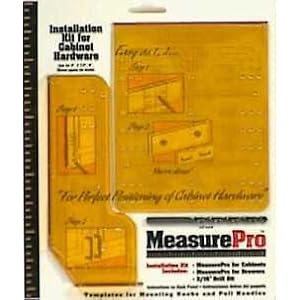 |


I hope you found this tutorial helpful, and most importantly, I hope you’ll begin to see that you can do this project!
In case you missed it – here is my post with tips and tricks on painting oak cabinets.

In April 2014, I gave Behlen’s Grain Filler a test drive to get rid of the oak grain on a cabinet project.
Here is a post showing an oak kitchen transformed (by me) for a client.
Before:
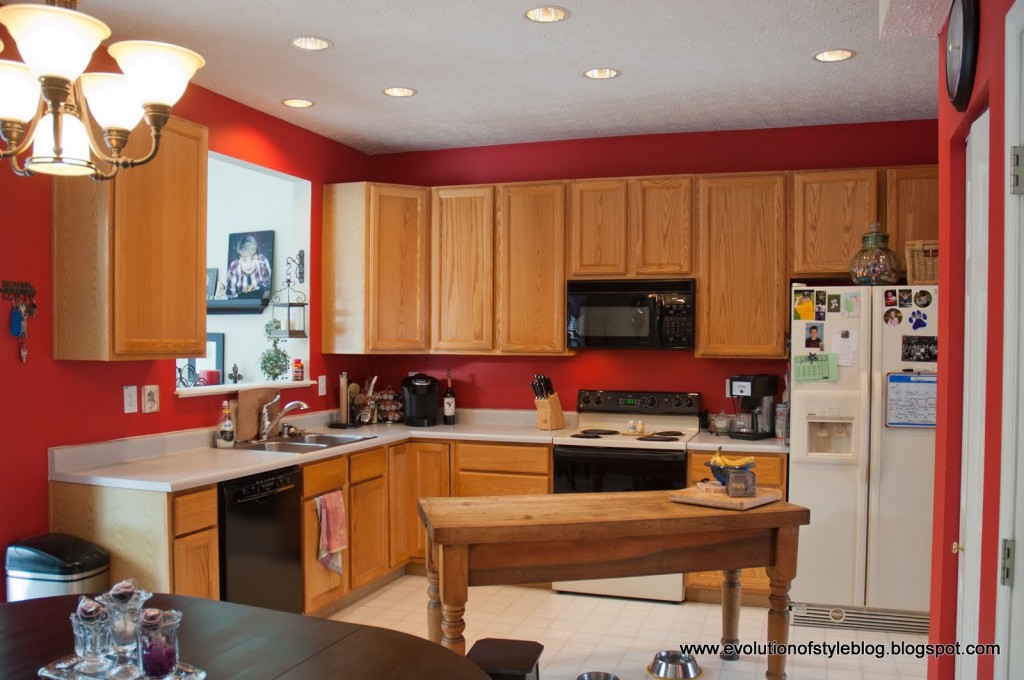
After:

Here are some links to some other resources that might be useful:
Melissa at 320 Sycamore
Traci at Beneath my Heart
Sherry and John at Young House Love
Marian at Miss Mustard Seed
Traditional Painter Hand Painted Kitchens and Furniture – a treasure trove of information from seasoned pros, on materials, supplies, prep and technique, along with loads of photos of kitchen transformations. One of my favorite resources!
Original article and pictures take www.evolutionofstyleblog.com site
Комментариев нет:
Отправить комментарий